Custom Connector in PowerApps
Connectors in Power Apps provide a way to establish a connection to a data source and allow us to use these data sources in our apps. These data sources can be SharePoint, SQL Server, Outlook, Dynamics 365, and many more. At present, PowerApps provide more than 300+ connectors that are already available to use in our apps.
But what if the connector we want to use is not available or if we want to use our own connector in the apps? In this type of scenario, custom connectors come into pictures. Custom connectors give us the ability to use our own connectors in the apps.
In this blog, we will guide you on how to create your very first custom connector in Power Apps using an API (Application Programming Interface).
Introduction to OpenWeatherMap
OpenWeatherMapis used to provide a weather forecast report with the help of an API. In this blog, we are using OpenWeatherMap to provide a real-time weather report in our canvas app.
Sign in to https://openweathermap.org/
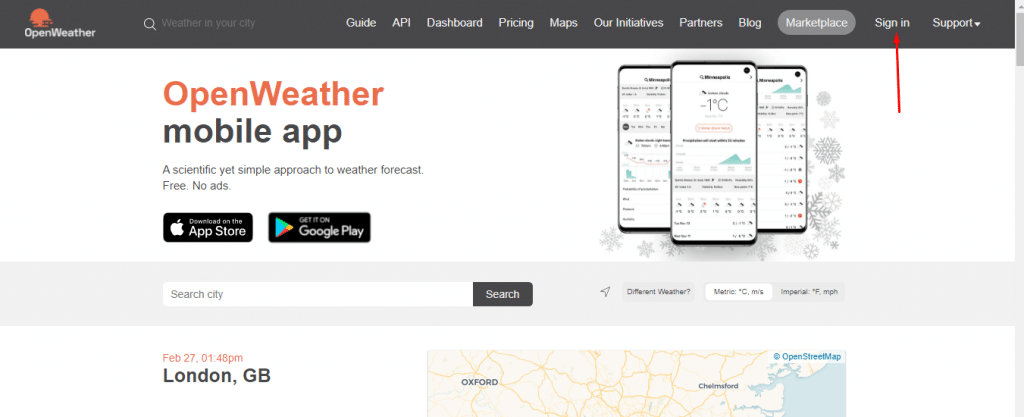
Procure OpenWeatherMap API Key
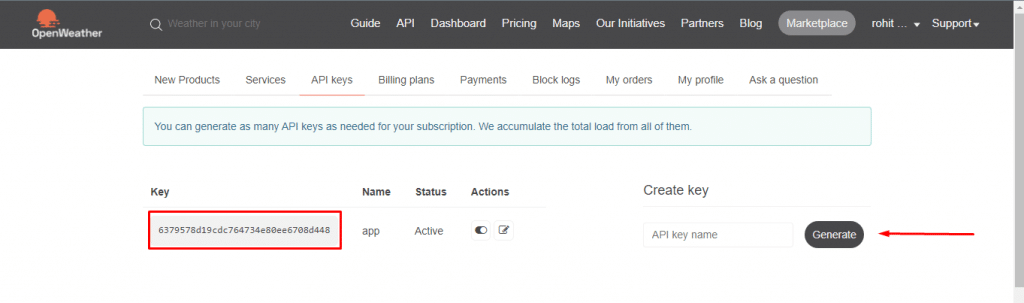
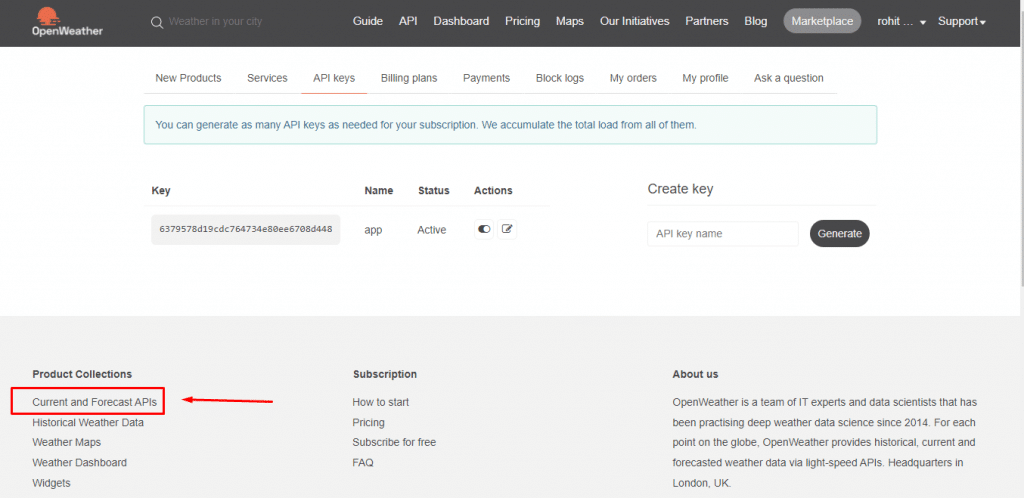
To procure an API key, you must create a free account. After creating an account, you will be provided with a default API Key.
You can either use the default API key or you can generate your API key. This API key will act like your password which is used for authorization and prevent other users from using your API.

Also, read: Setting the Default Mode for Forms in Canvas App (Power Apps)
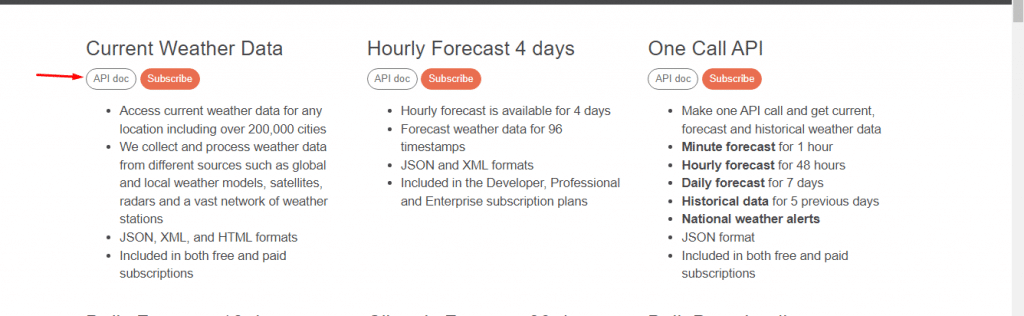
Testing API endpoints using an API key
Since we have obtained an API key, we will test our endpoints using an API key. We want to show weather reports by city name, so we will use endpoints that have the city name as a query parameter. Follow the steps described below:
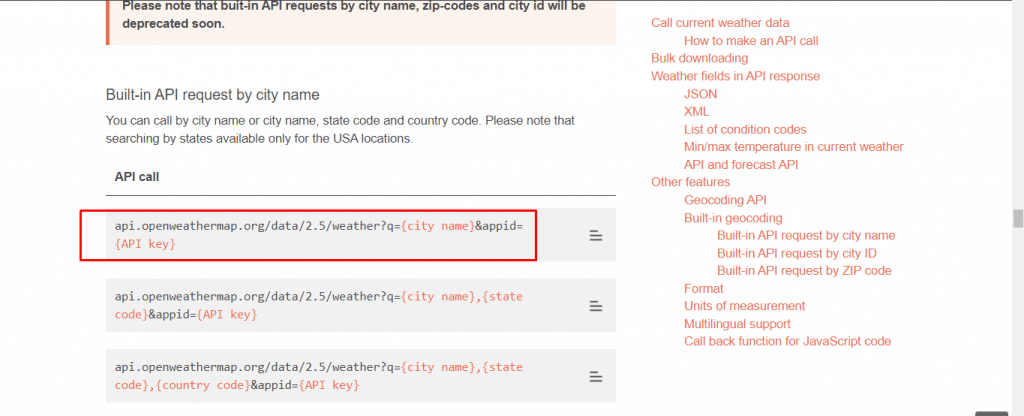
Now go to the browser and test your endpoint. Just provide your city name (q) and your API key (app ID).

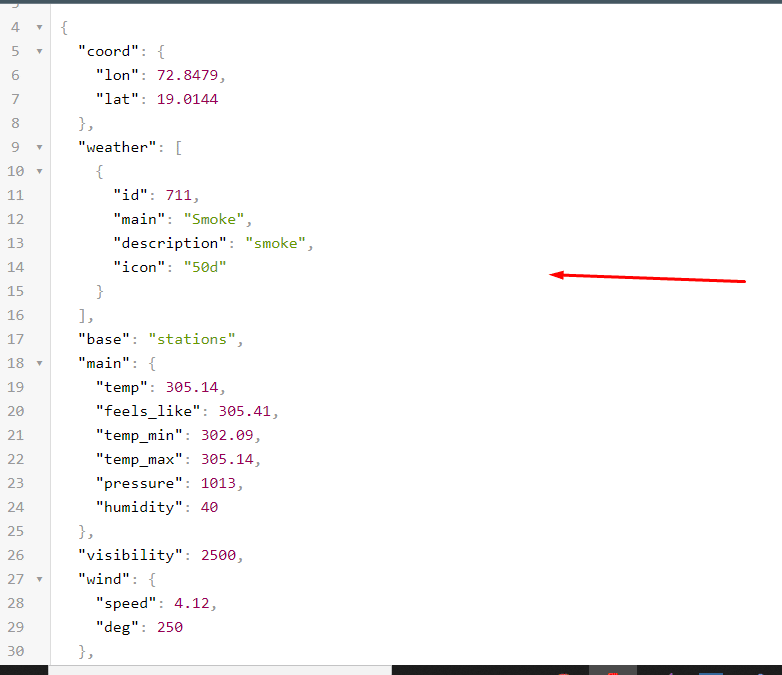
You will see the JSON response if it is successful as shown below. You will need your API key and this JSON response later, so keep it open in the browser.
Also, read: Know about User Roles in Microsoft Power Apps
Creating a New Custom Connector
Now that we have obtained an API Key and tested it successfully, we can proceed further to make our custom connector. Create an account or sign into power apps.
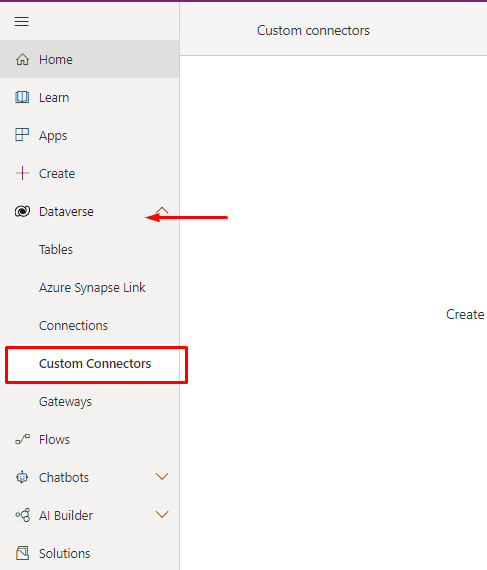
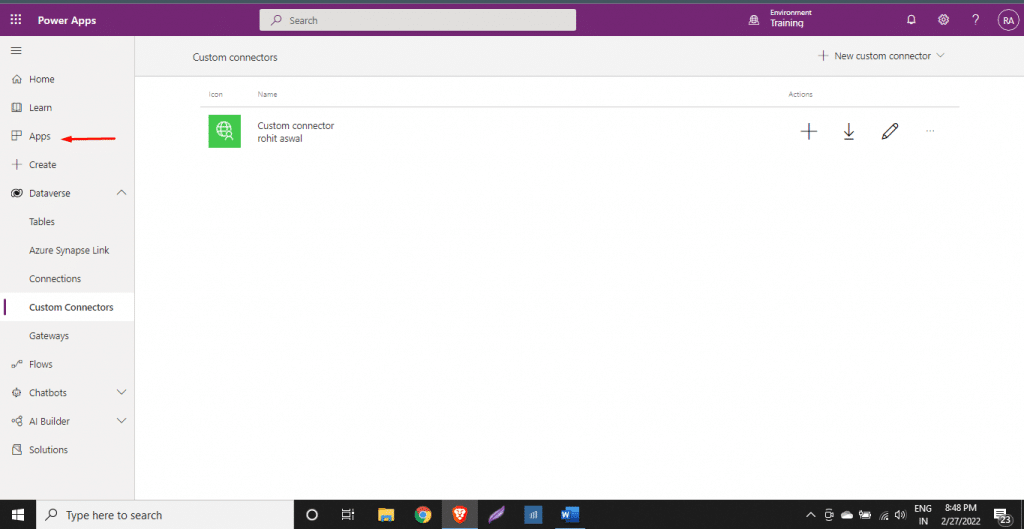
Select Dataverse and click custom connectors.
Next, on the top-right-hand side, click on New Custom Connector.
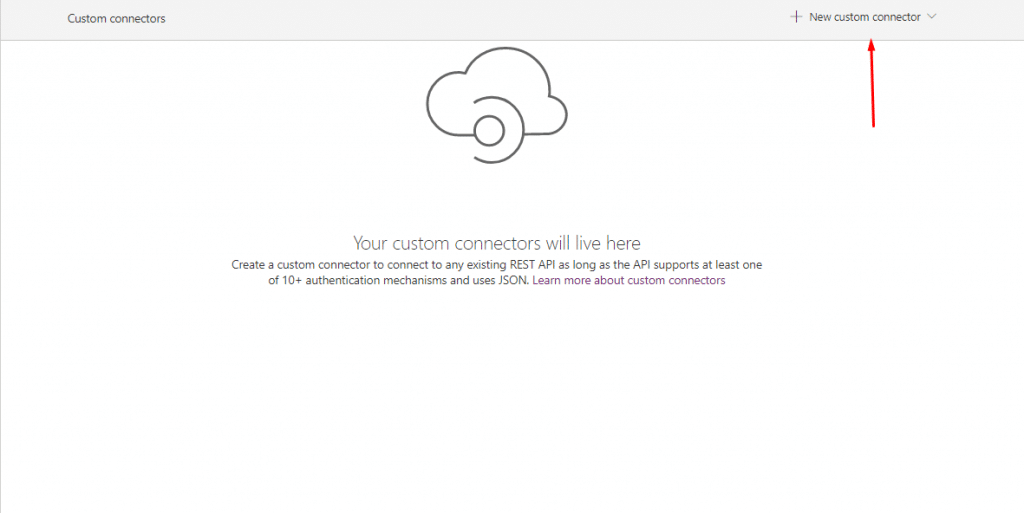
Now, you will see there are multiple options to choose from. In this blog, we are going to create from a blank.
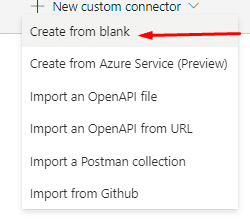
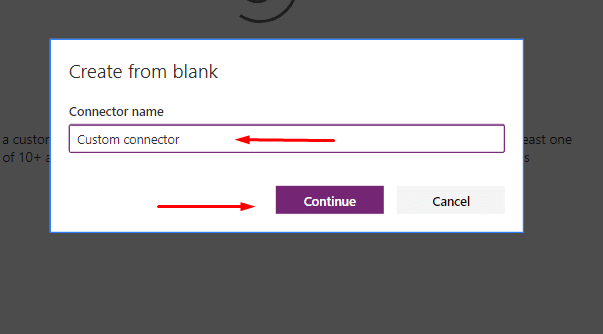
Next, provide a meaningful name for your connector. You can name anything you like.
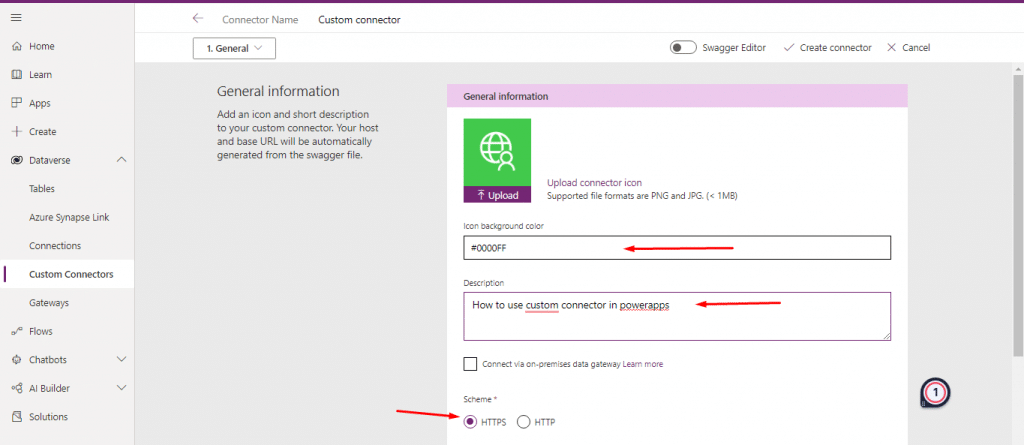
Filling the General Information Tab
In the General section, you can upload the icon, apply background color to the icon, and give a description of your connector.
Select scheme as HTTPS since our endpoint is of https.

Scheme type

Hostname

Also, read: Implement multilevel cascading dropdown in Power Apps from SharePoint
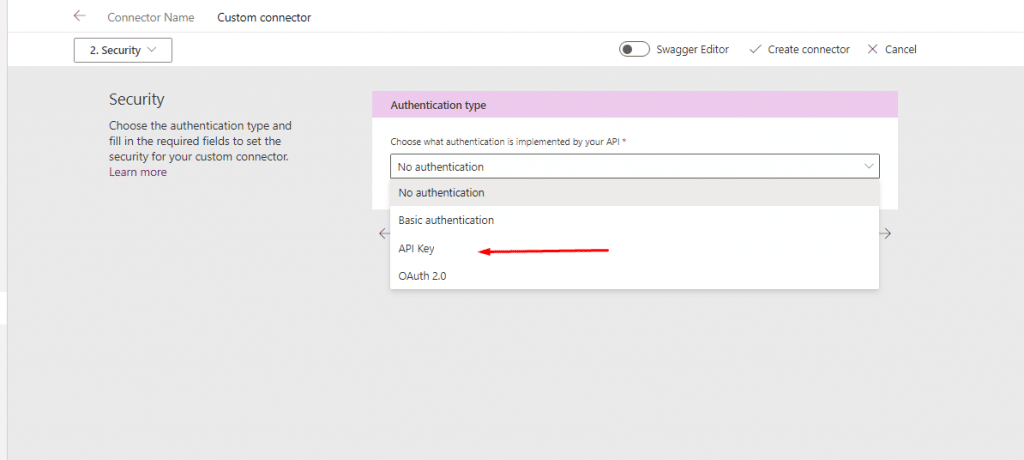
Defining security sections
In the security section, select API Key as authentication type as we are using API Key to access our endpoint.
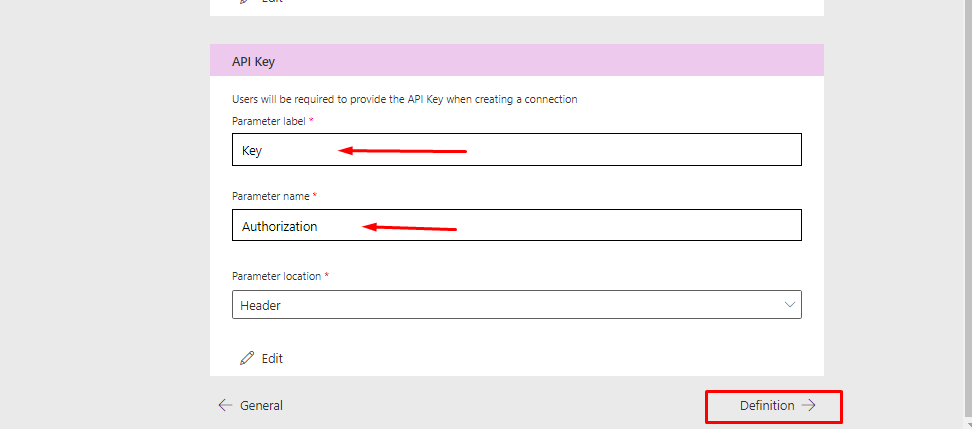
Next, fill in the parameter label as Key and parameter name as authorization.
Select Header as your Parameter location.
Defining an action for our custom connector
In the definition section, we can define more than one action for our custom connector. In this blog, we will have only one action but if you want you can add more actions later for different endpoints. Click on the New action and in the general section fill in the summary and description.
In the operation ID field, name the field which will be easy to remember and meaningful as this field will be required later in the canvas app.


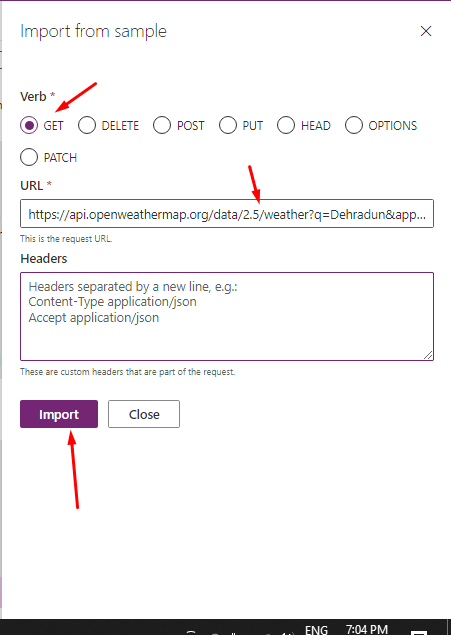
Import from Sample
Here, we will define the requirement needed for the request.
We will use GET as we are getting data from the API.
In the URL, provide the endpoint which we use earlier to test by city name and click import.

Defining a Response in our custom connector
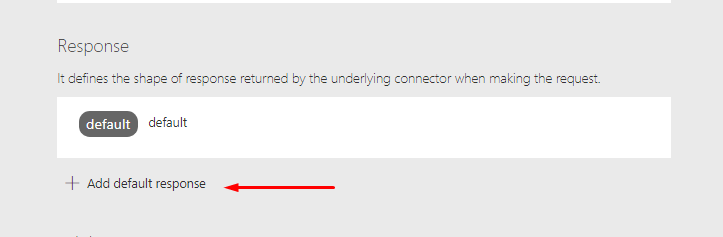
Next, we will fill in the response section, just click on Add default response.
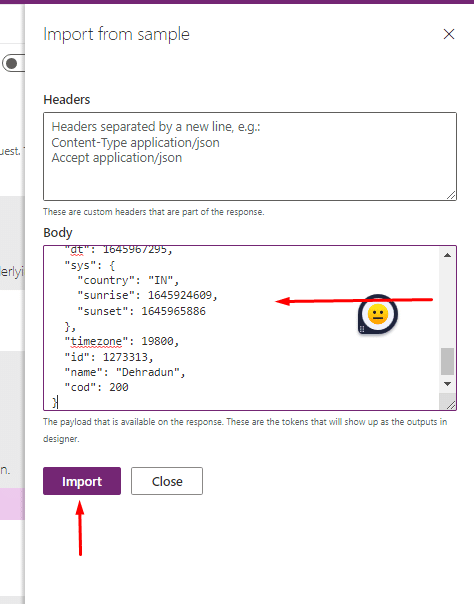
Copy the response that we got earlier from the endpoint that we tested and paste it in the body section and click import.
Now, click on Create connector.
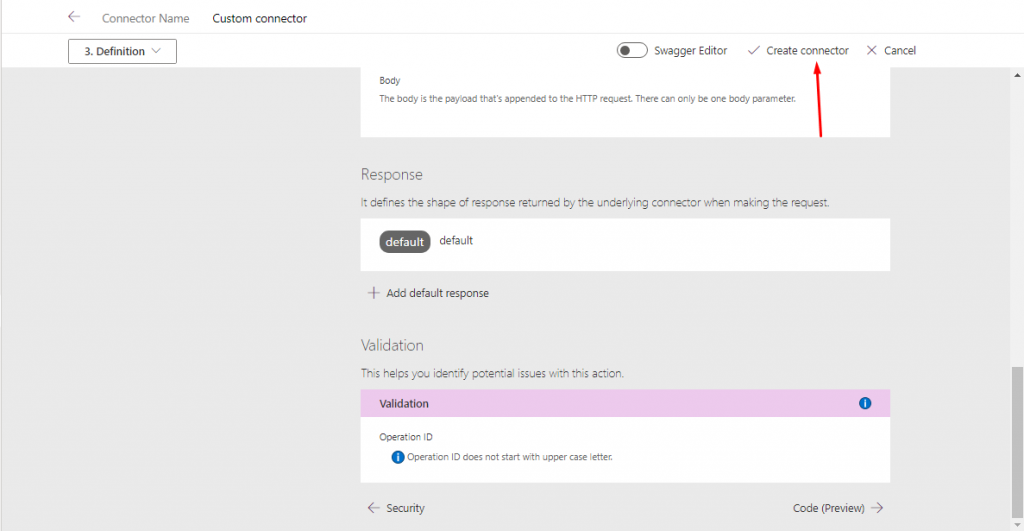
Now, you will see the message that our Custom Connector has successfully created.

Testing our Custom Connector
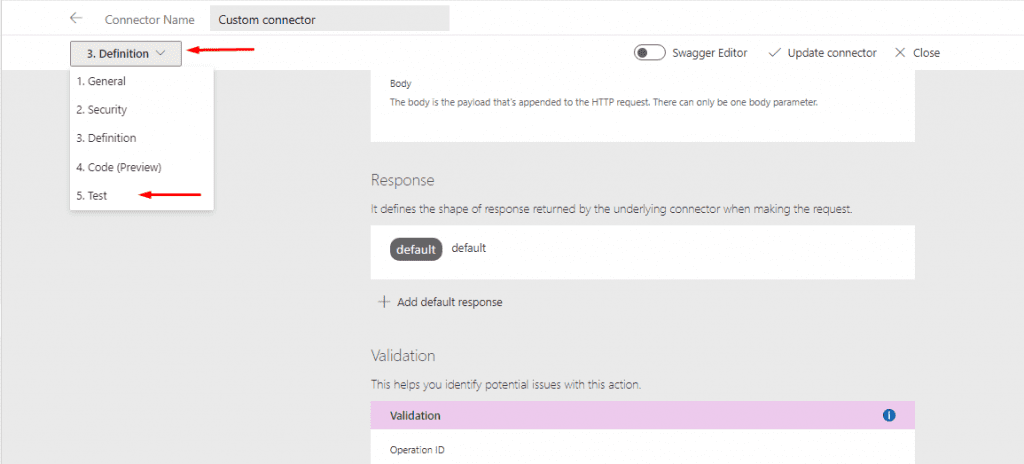
Select Test from the dropdown list
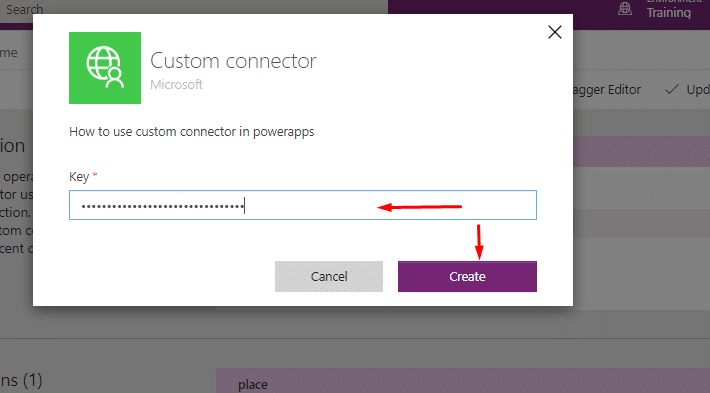
Next, provide your API Key and click on create.
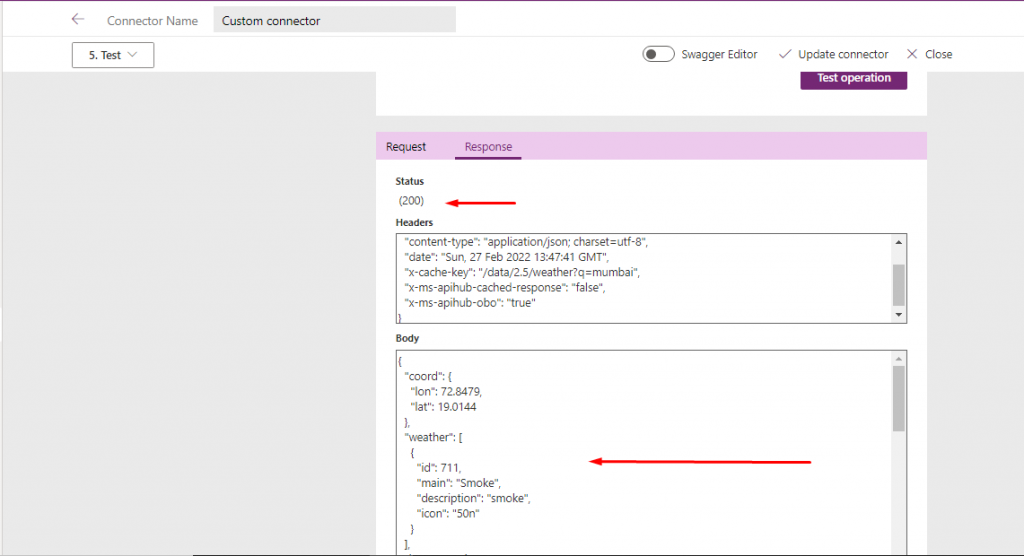
In the place section, select Mumbai or any city you want in query parameter (q) and provide your app ID key and click on Test operation.

If the request is successful, then it will return a response with a status code of 200 and a JSON response in a body section as shown below.
Also, read: What is Power Apps of Microsoft Power Platform?
Using our custom connector in the canvas app
After creating our custom connector, we will now see how to add our custom connector to our canvas app and use it as a data source.
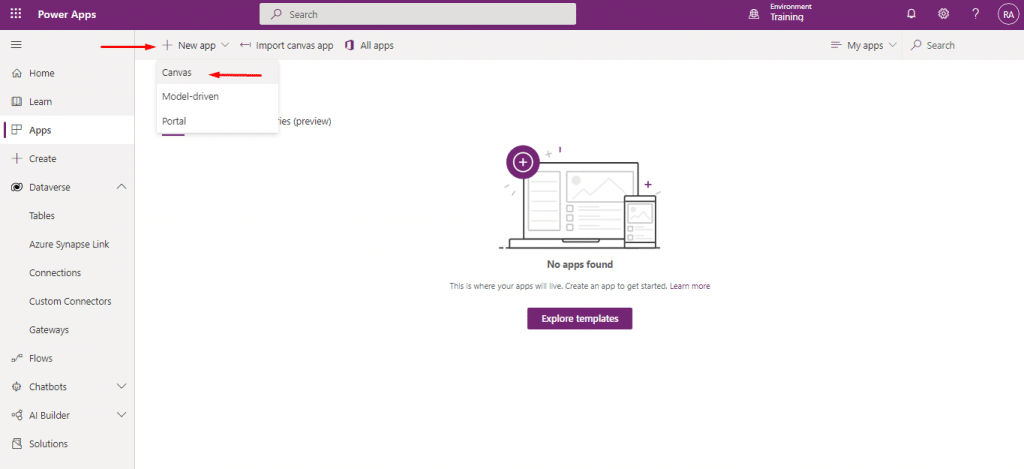
Create a new canvas app and provide its app name and click create.

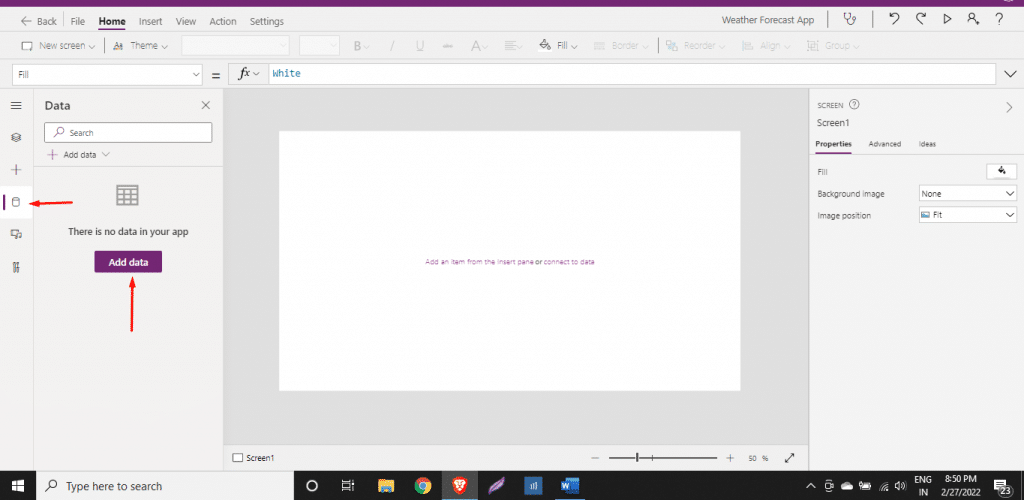
Now, you will see a blank new screen display.
Click on the data icon and select Add data.
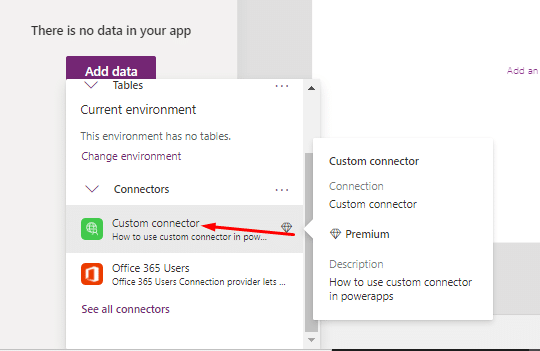
As you can see, our custom connector is available. Click on the custom connector.
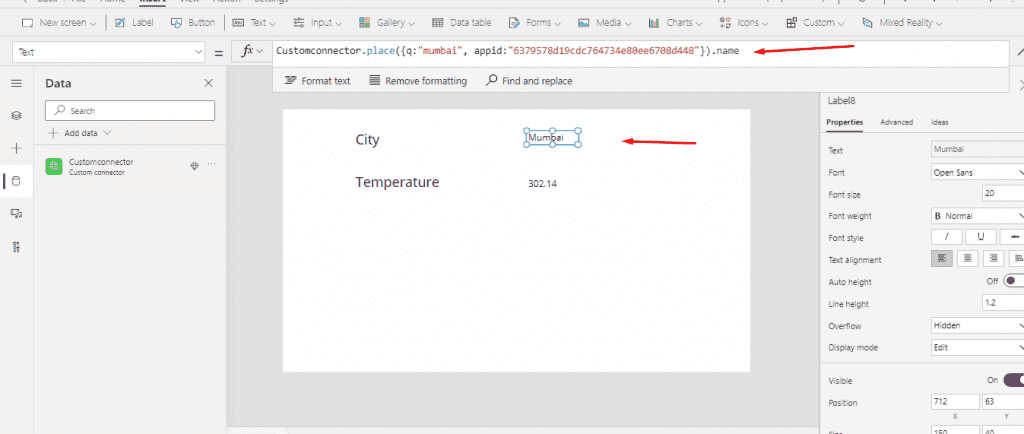
Now, you just have to use a label and see whether it is working or not.
Use the formula given below to test it.
The custom connector is the connector name we have given earlier, and the place is the operation ID.
Note: use your own API Key in the app id.


Also, read: Custom app development for small and medium businesses- Power apps to the rescue
Conclusion
Connectors in Power Apps provide a way for users to link accounts and leverage a bunch of pre-built activities and start to create workflows and apps. And there are scenarios when you need to create custom connectors, they are configured to permit the usage of APIs that are not covered by the general connectors. Custom connectors can include one or more actions. And defined above was the method of creating a custom connector in power apps. Hope you have learned how to build your first custom connector for Power Apps and Power Automate. If you have any questions or feedback regarding the same, feel free to leave a message in the comments section below. All the best!
Microsoft Power Platform Consulting
Still, have a question? You are free to contact me or other experts in our team to showcase the real power of PowerApps to you.