Flutter and Firebase work together to assist you to create mobile applications in record time. Firebase works as a backend for mobile apps and Flutter is Google’s SDK for building mobile apps for Android and iOS devices. Firebase allows you to develop, measure, enhance, and grow your mobile app. It’s backed by Google and provides you facilities like database, authentication, storage, hosting, and much more without maintaining your own server.
FlutterFire is used to integrate Flutter App with Firebase. FlutterFire is a set of official plugins that let you implement Firebase services in your Flutter app. The stable version of the same provides a variety of critical plugins.
Getting Started with Firebase setup
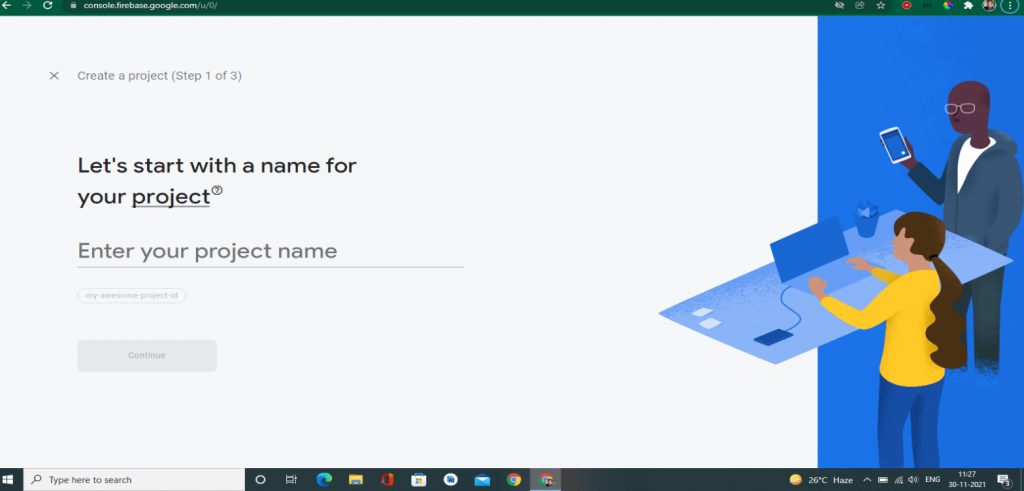
- Now to get started with Firebase, you first need to create a new Firebase project.
- Sign into a Google Account, then navigate to the Firebase console, and click on Add Project.
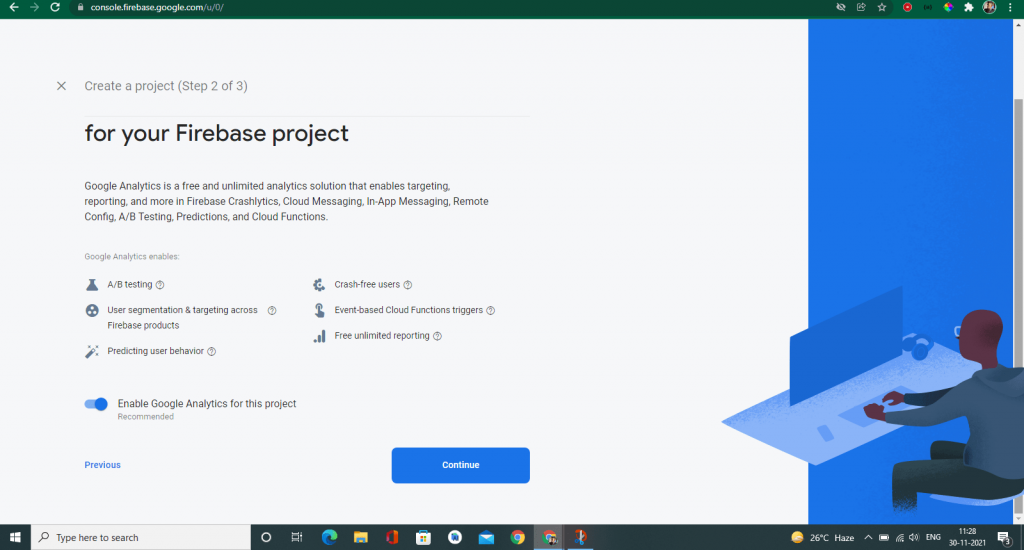
- Enter a project name and click Continue.
- After the project starts, click Continue.
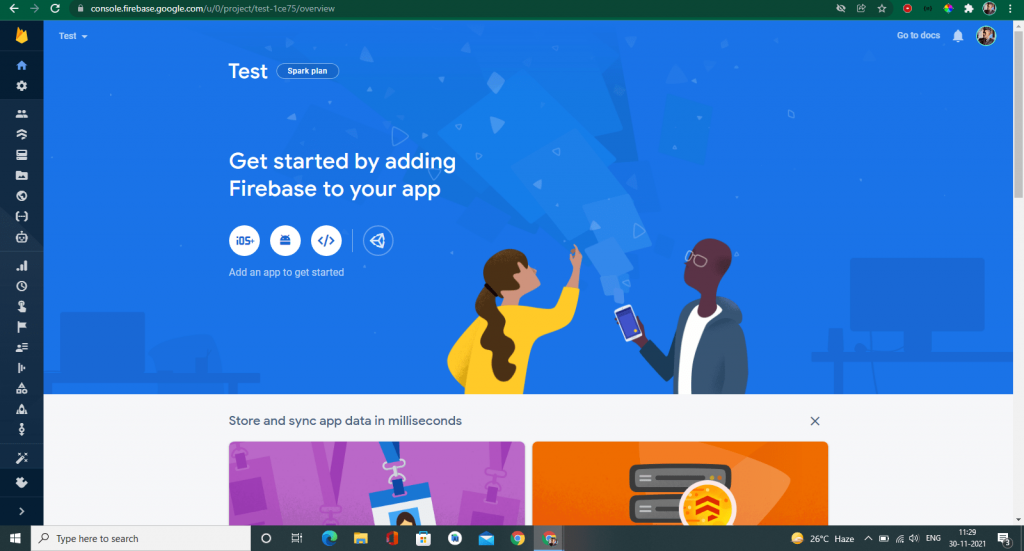
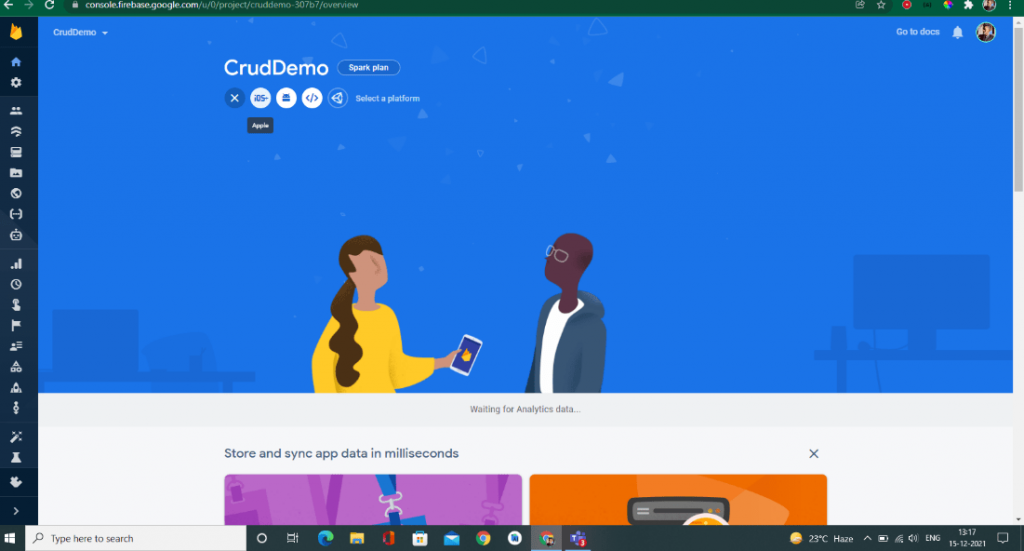
- This will lead you to the Overview of a Project screen. Therefore, you will find options to integrate the Firebase project with your Android or iOS app.
Also, read: Top Web app development frameworks for 2022: get the most scalability at lower costs
Integrating Firebase with your Flutter App
The Firebase project is now clearly ready to be integrated with a mobile app. Although we use Flutter, which is a separate platform framework, we still have to do the first Firebase setup for both platforms separately.
Android Setup with Firebase
To integrate a Firebase project with the Android app, follow the required steps below.
- Click the Android (icon) on that project overview page:
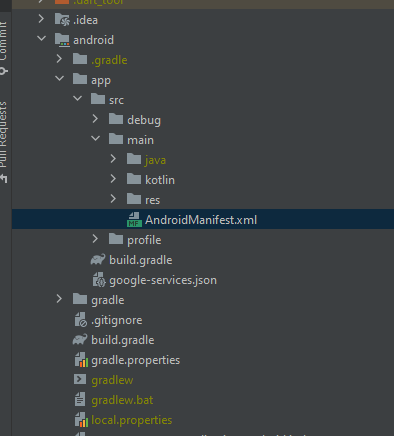
- This will lead to a form. First, you need to give a name of the Android package. You can find this list of your Project → Android → App → SRC → AndroidManifest.xml. In the second row, you will see the name of your package. Just do copy and paste it into the form.
- Optionally, you can give a nickname for that app. Or, if you leave this field blank, an auto-generated app name will be used.
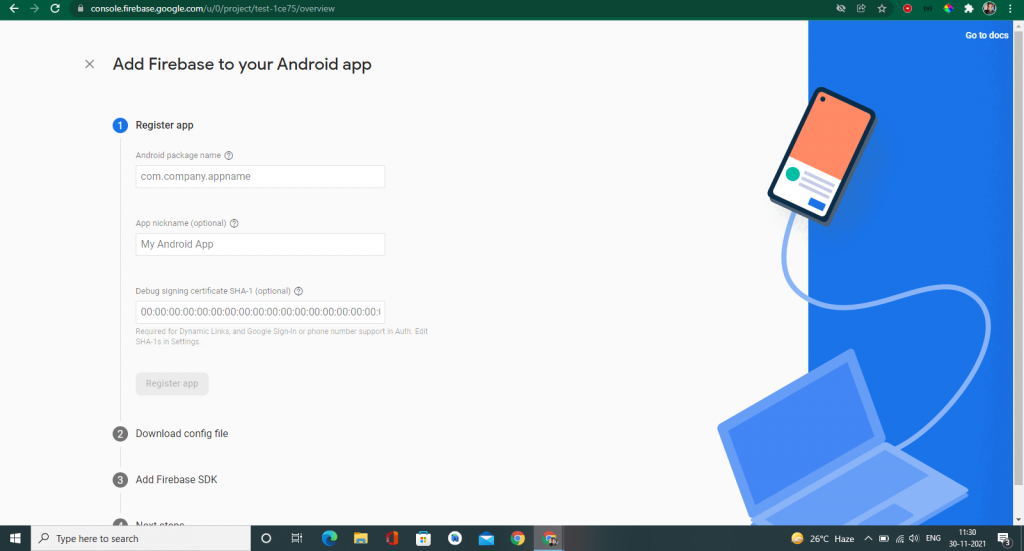
- You must enter a SHA-1 hash. Just hover over a help icon (?) And click on “See” page. This will take you to your client’s authentication page.
- From here, you will receive a command to produce a SHA-1 hash. Attach this to your terminal to get the SHA-1 hash, then simply copy, and paste the generated hash into the form.
- Click on the Register app. This will lead you to the next page.
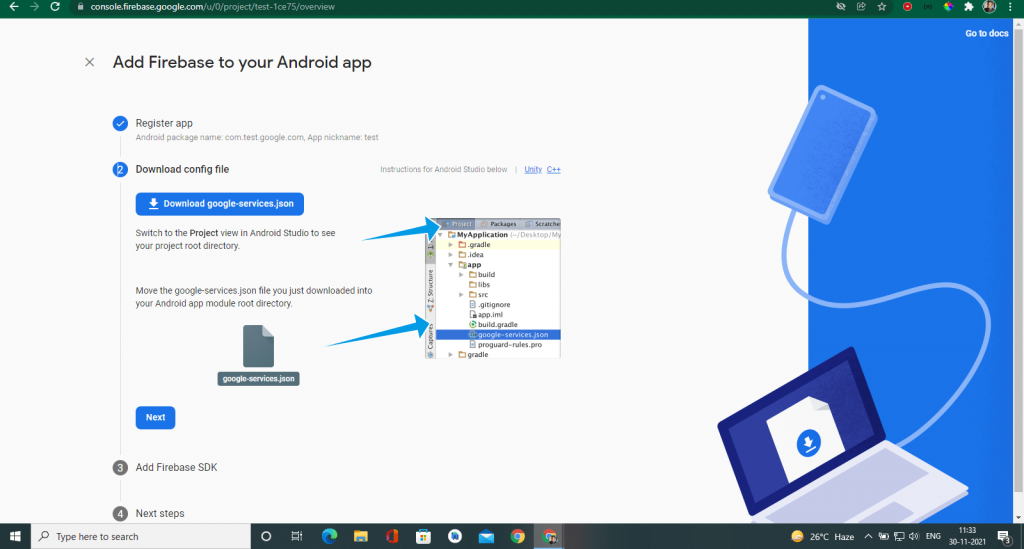
- Download a given google-services.json file, put it to your Project Directory → Android App →, and then click Next.
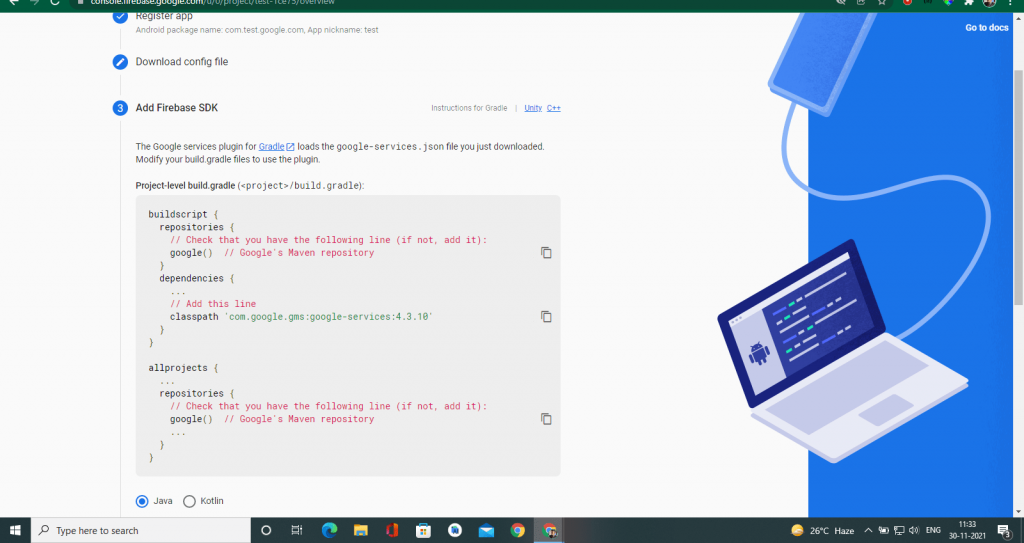
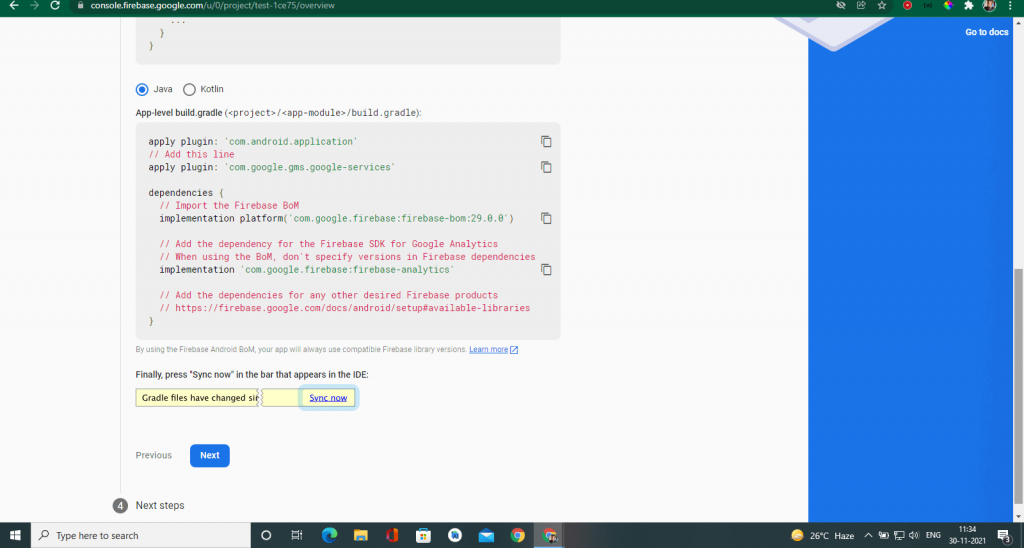
- Follow the instructions and add a snippet of code to the desired location. Then, click Next.
- Finally, click Continue to console.
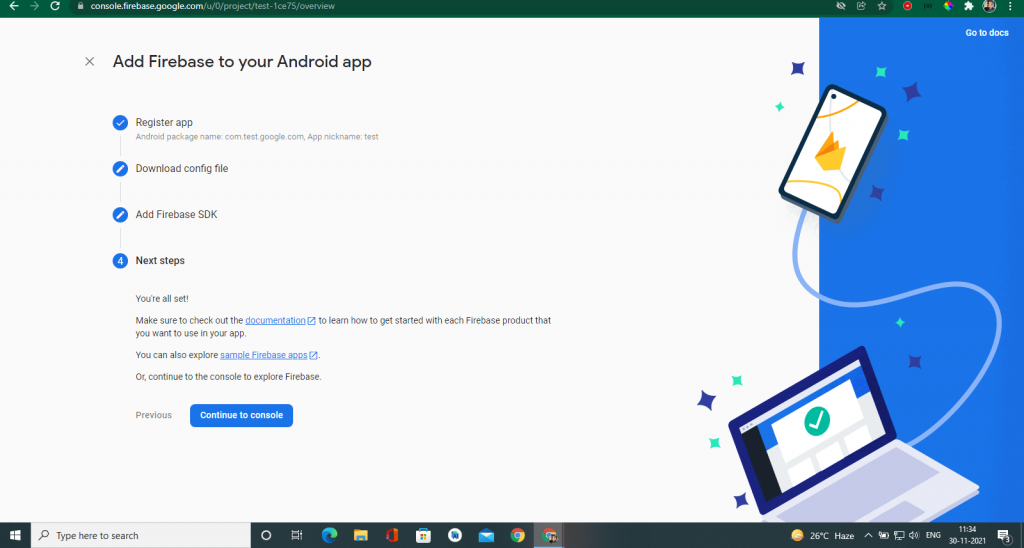
- With this, you have completed the Firebase set up on the Android side of your app.
Also, read: How to implement Admob adverts to Flutter Applications
iOS setup for firebase
Now, let us take a look at the iOS setup for firebase =>
- For adding iOS support, we need to follow some similar kind of setting and instructions.
- For that, first, we need to go back to the dashboard of that project and there you need to click on the iOS icon, this will lead you to the setup process.
- Now you need to enter ‘iOS bundle id’. And for confirmation, you need to match it with the app bundle inside the following path –
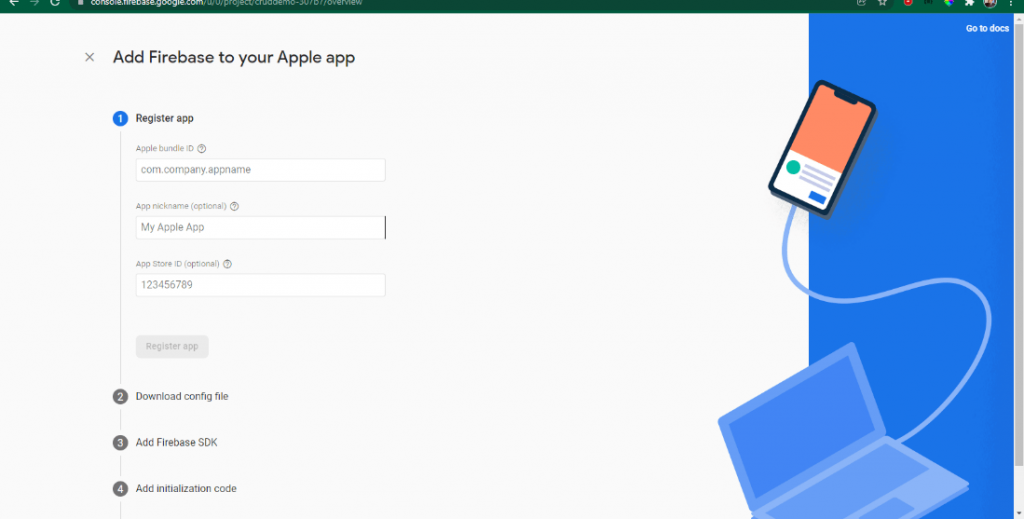
Path to find bundle id for iOS setup – iOS/Runner/Runner.xcodeproj
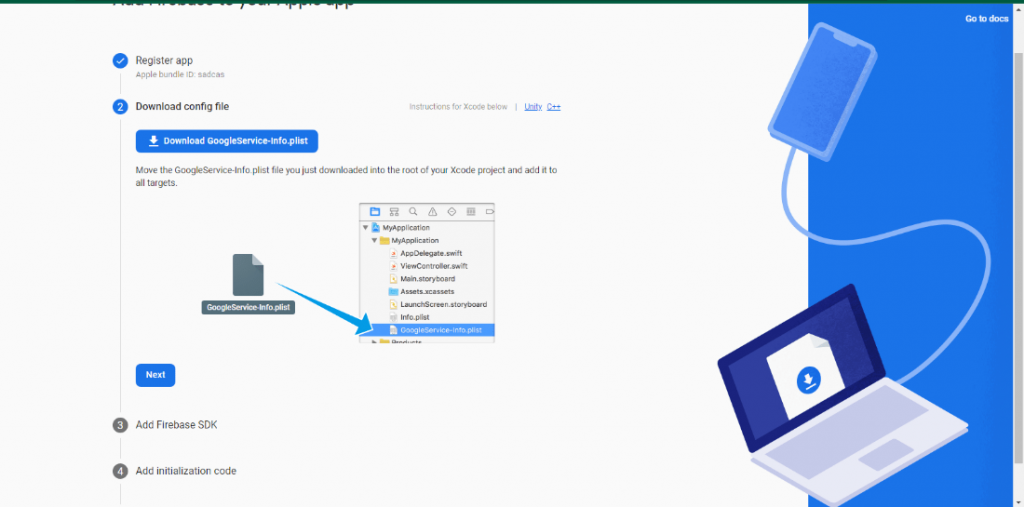
- Now you need to download a file named as GoogleService-Info.plist and place it into the root of our XCode project with Runner: –
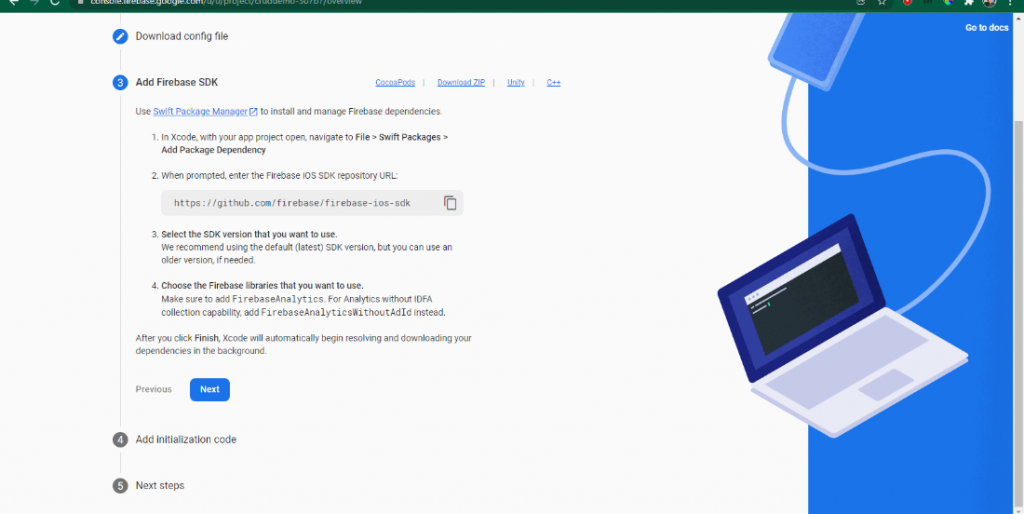
- Note – Make sure to place that file inside the XCode to create the proper file references.
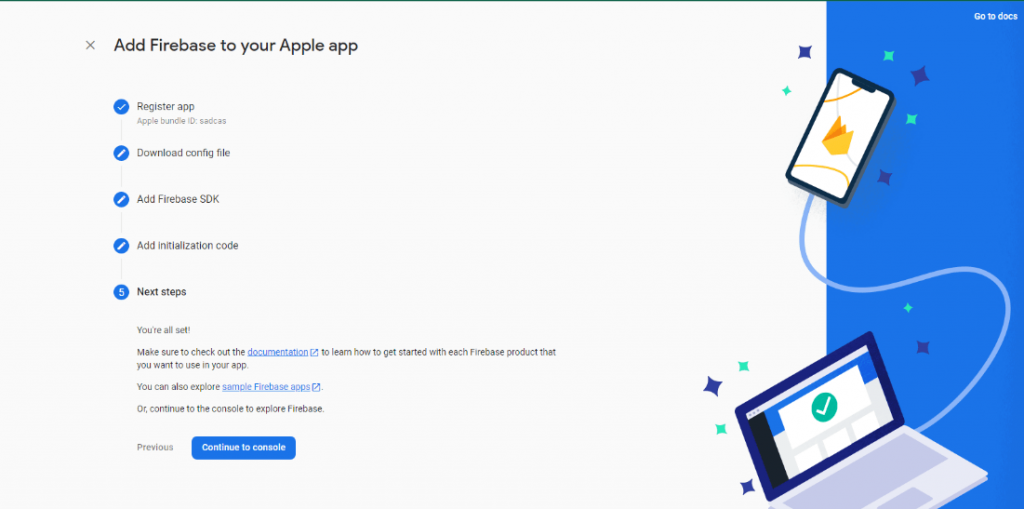
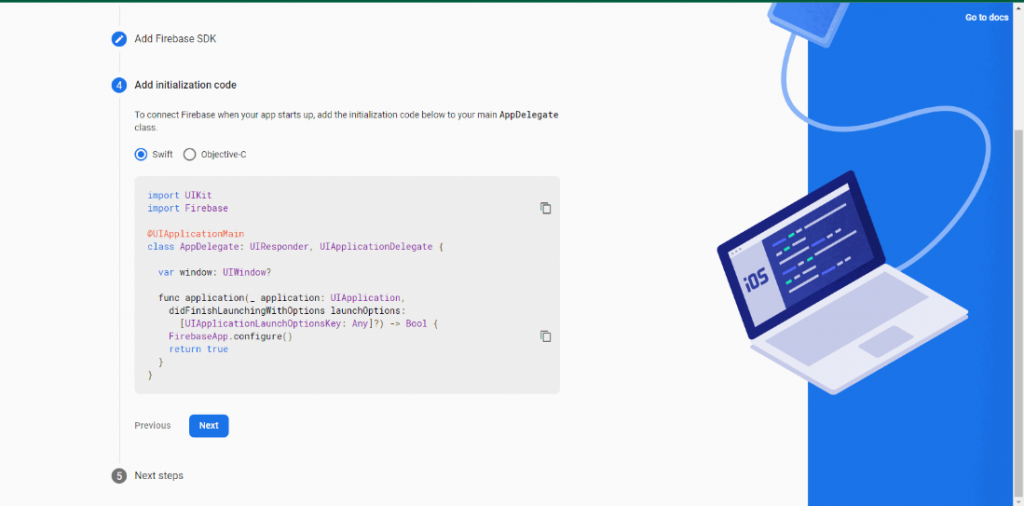
- And therefore, you’ll see many more instructions, but they are not required, you just need to click on continue to console and that’s it.
Wooh! You’ve done it.
You have completed the Android and iOS setup of firebase to your application.
Also, read: Flutter Basics: why use Flutter for mobile app development
Conclusion
In this article, you have learned how to integrate or set up and prepare your Flutter applications to be used with Firebase. Flutter has authorized support for Firebase with the FlutterFire set of libraries, these FlutterFire plugins work together in practical applications to test your app for errors and collect data to help you improve the user experience.
So, you have successfully added your flutter app to firebase! Always remember while accomplishing the Firebase connection, your app must be stopped.
Mobile App Development Services
Do you want to leverage mobile technology for your business? Cynoteck is a one-stop Mobile app Development Services provider. We provide iOS and Android application development services so that you can reach your target audience on any device.