In this article you will learn how extract any type of data from excel sheet using Azure function and get the required data to create a record in dynamics using power automate flow.
Azure Function is an event-driven, server-less compute service that enables software developers to efficiently run scripts or code written in any language of their preference. And Microsoft Power Automate is all about automating the process, it allows businesses of all sizes and shapes to build repeatable workflows whenever needed. There is a large number of actions that can be processed and performed using this integration of Azure function, Visual Studio, and Power Automate.
In this blog, we will extract the data from an excel file having large data which may be not in table form.
So basically, we will create azure function using visual studio and publish the code and file to the azure portal from where we will get a proper URL of our function after which it is used to call the azure function from power automate flow through HTTP request. So, let’s start step by step:
Creating Function app in azure portal
Step 1: Open https://portal.azure.com/ for the azure portal and login with the same ID for the dynamics account or you can also navigate from the Power apps portal directly.
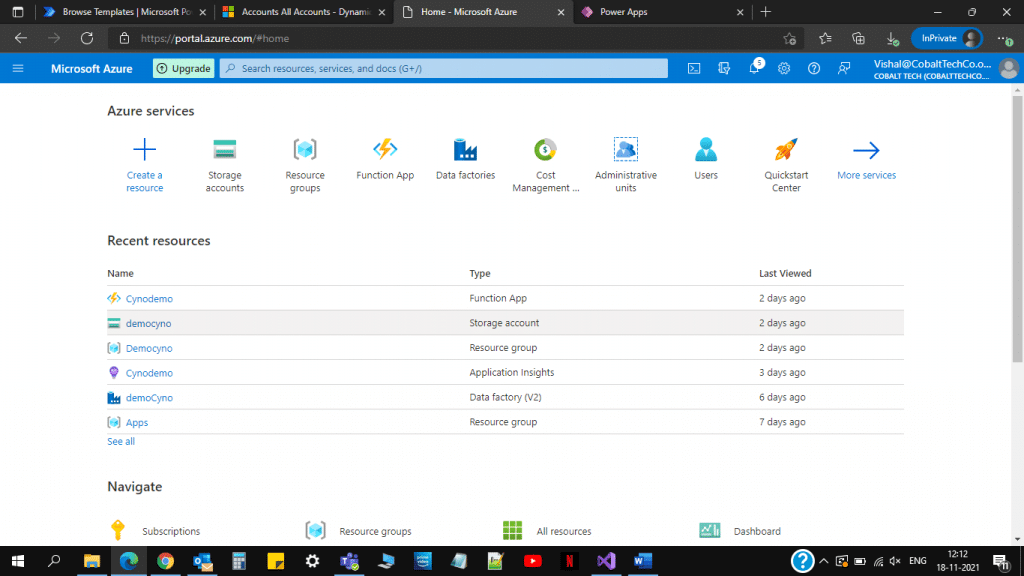
Step 2: After a successful login, you will get a screen like this:
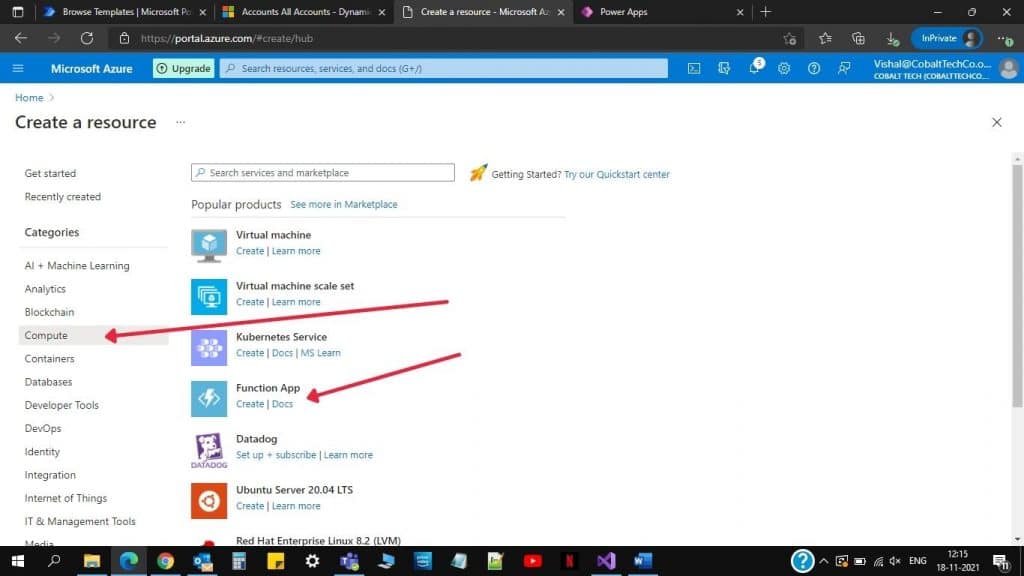
Step 3: Click on create a resource (+ sign), then click on compute and then on function as shown below:
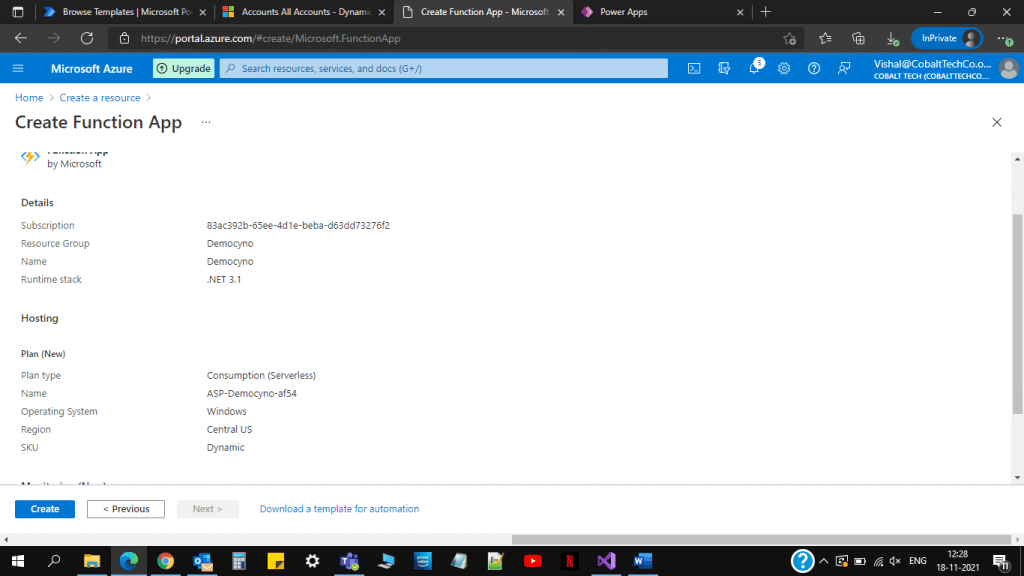
Step 4: Create a function app with the following data or what you want.
- Select or create a Resource Group.
- Choose a name for your function app.
- Select code as we are doing it using a visual studio which is a .NET runtime stack, or you can select the latest version.
- Select specific location accordingly.
- Click on the Next button for every tab and go with the default settings for now.
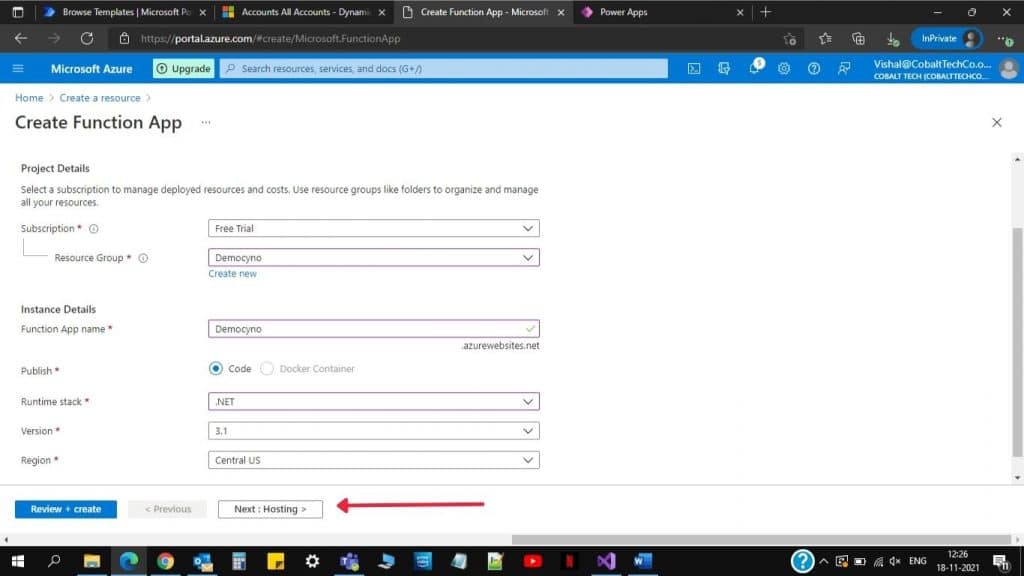
- Click on Create for function App
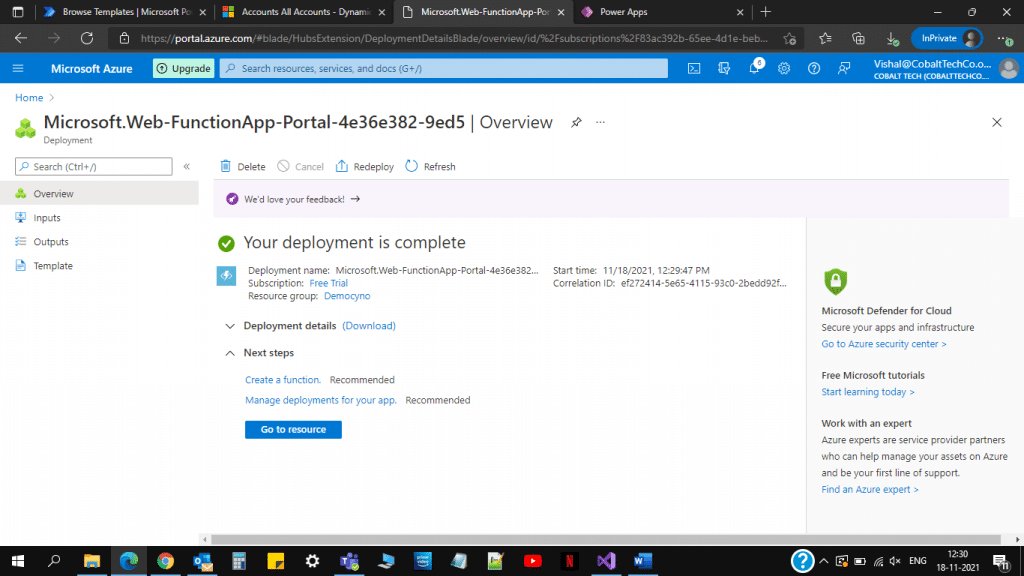
Step 5: Wait for the message i.e. “Your development is Complete” and click on Go to resources as shown below.
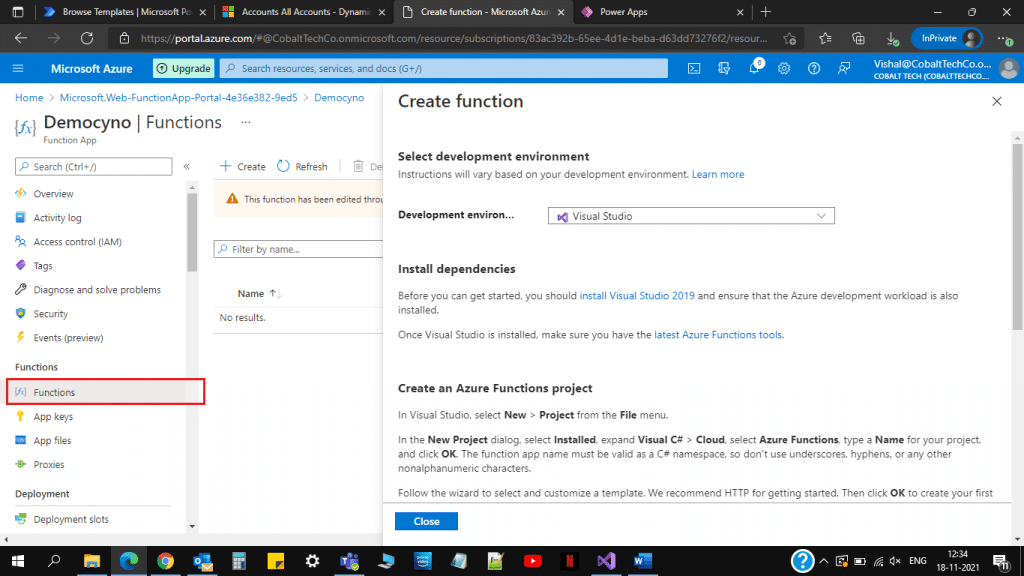
Step 6: Then click on Functions to create a new quick view window that will open as shown below and read the following instruction carefully.
Also, read: Why Power Apps is a powerful tool with Microsoft Azure?
Visual Studio Function Code
Step 1: Install visual studio 2019 using “Now downloading: Visual Studio 2019 16.11.5 | TechSpot”.
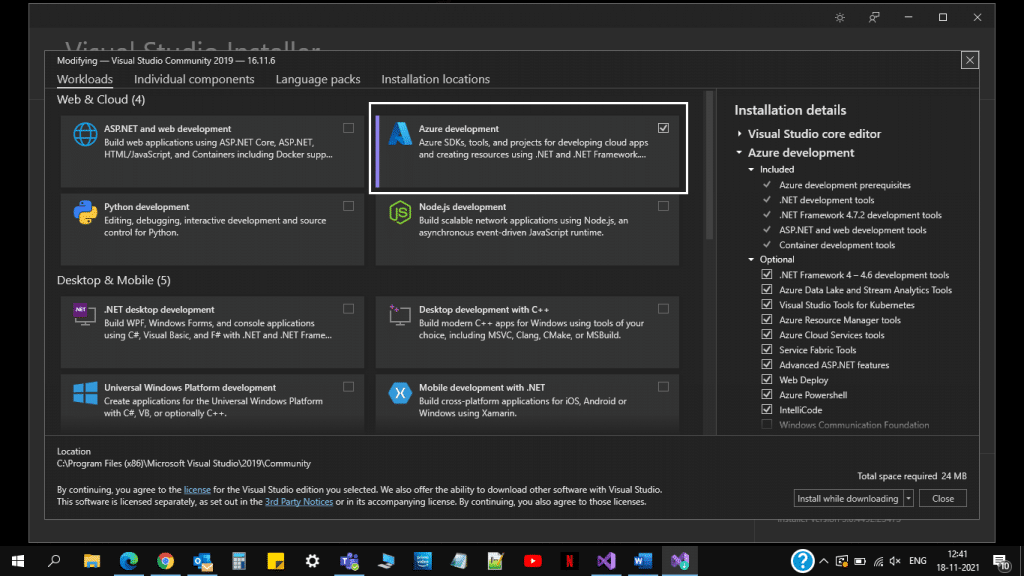
Step 2: Open the downloaded file and click on next or confirm accordingly and select Azure Development workload and click on Install. This will take some time.
Step 3: After successful installation.
- Click on the new project.
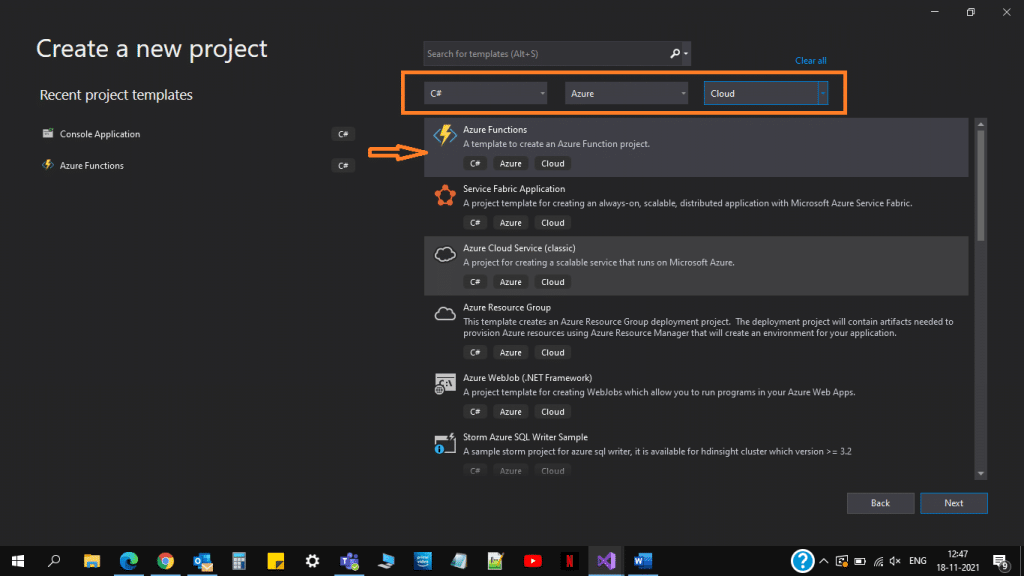
- Select C#, Azure, and Cloud as shown below and select Azure function. Click on the Next button.
- Give a name for your project and click on Create button shown below.

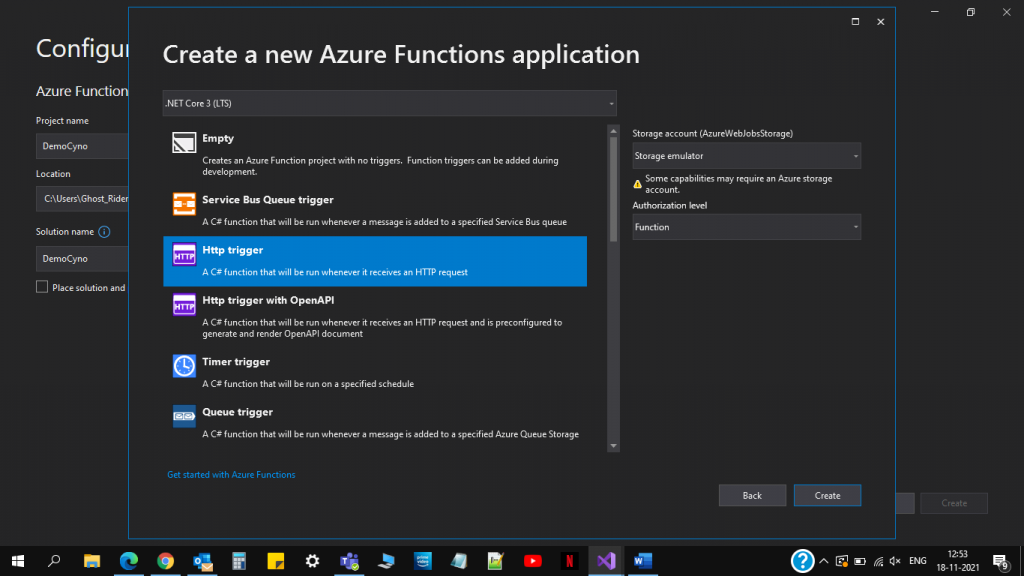
- Select HTTP trigger as shown below and click on Create.
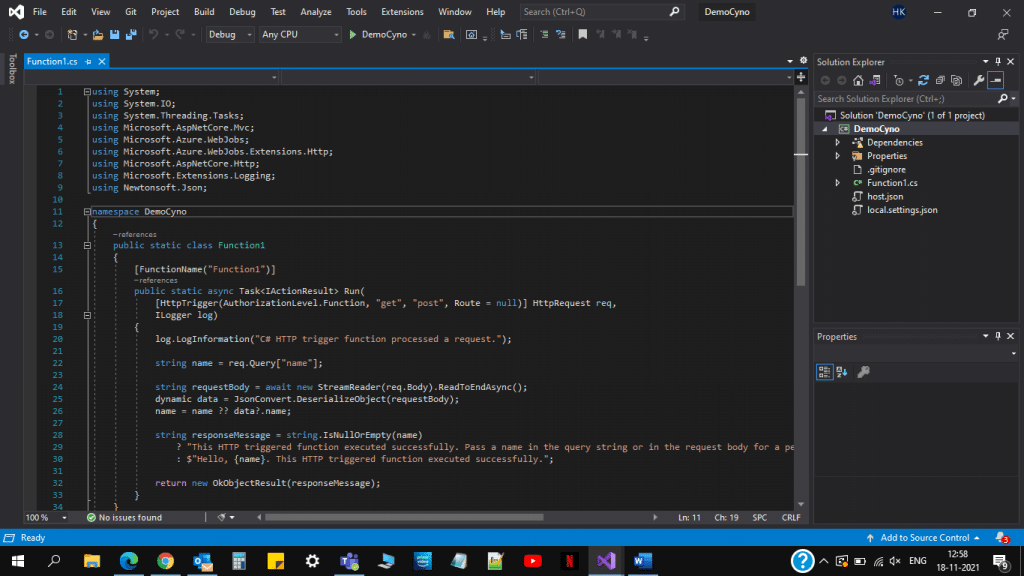
- You will get an HTTP trigger code for the Azure function and need to implement the Excel Data extraction code here only.
Step 4: Add your Excel file in the Solution Explorer as shown below.
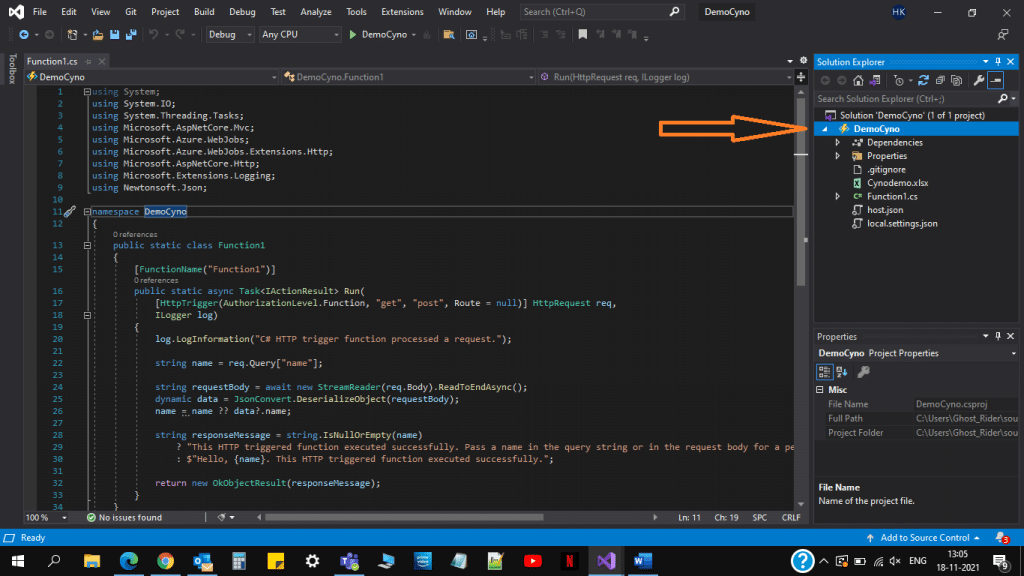
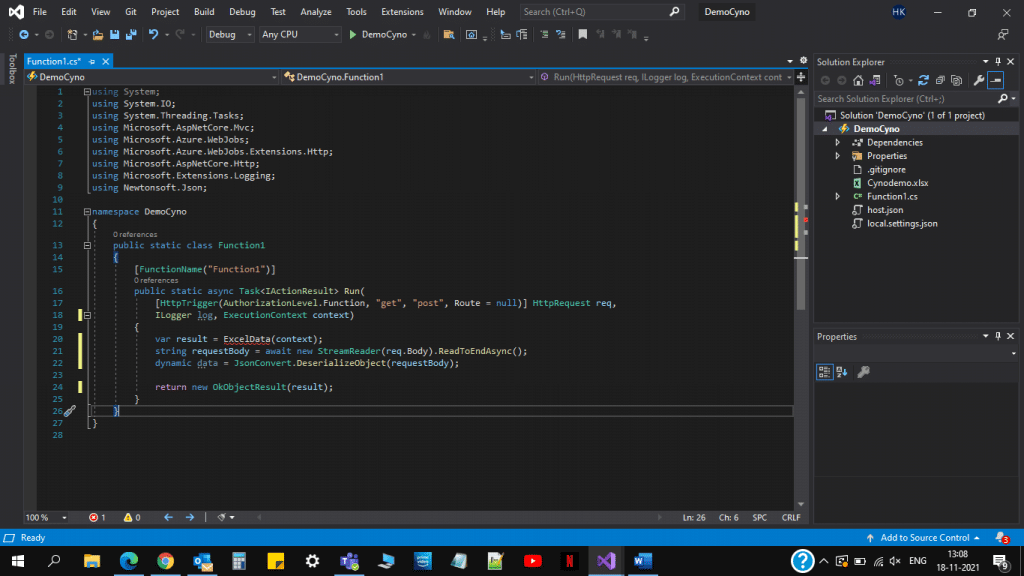
Step 5: Modified the code with the function calling in the given HTTP trigger function as shown below. The calling function shows an error because you need to declare the same, you can do the same in next step.
Given Code is:
namespace DemoCyno

{
    public static class Function1

    {
        [FunctionName("Function1")]

        public static async Task<IActionResult> Run(

            [HttpTrigger(AuthorizationLevel.Function, "get", "post", Route = null)] HttpRequest req,

            ILogger log, ExecutionContext context)

        {

            var result = ExcelData(context);

            string requestBody = await new StreamReader(req.Body).ReadToEndAsync();

            dynamic data = JsonConvert.DeserializeObject(requestBody);

            return new OkObjectResult(result);

        }

    }

} 
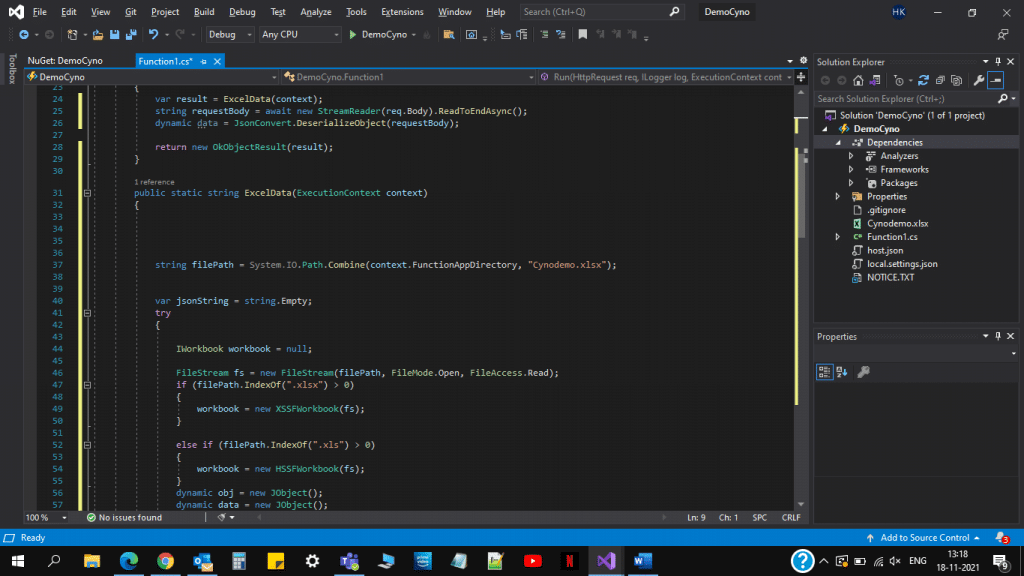
Step 6: Declaration of the ExcelData function with the main code. Before that, you need to install dependencies Name DotNetCore.NPOI as shown below. Also, add the following namespace:
using Newtonsoft.Json;

using NPOI.SS.UserModel;

using NPOI.XSSF.UserModel;

using NPOI.HSSF.UserModel;

using Newtonsoft.Json.Linq; 
Step 7: The function declaration looks like this, after removing all the errors like given below.
The Given complete code is:
using System;

using System.IO;

using System.Threading.Tasks;

using Microsoft.AspNetCore.Mvc;

using Microsoft.Azure.WebJobs;

using Microsoft.Azure.WebJobs.Extensions.Http;

using Microsoft.AspNetCore.Http;

using Microsoft.Extensions.Logging;

using Newtonsoft.Json;

using Newtonsoft.Json.Linq;

using NPOI.HSSF.UserModel;

using NPOI.SS.UserModel;

using NPOI.XSSF.UserModel;

using System.Collections.Generic;

using System.Linq;

using System.Text;

using System.Collections;


namespace FunctionApp1

{

    public static class Function1

    {

        [FunctionName("Function1")]

        public static async Task<IActionResult> Run(

            [HttpTrigger(AuthorizationLevel.Function, "get", "post", Route = null)] HttpRequest req,

            ILogger log, ExecutionContext context)

        {

            var result = ExcelData(context);

            string requestBody = await new StreamReader(req.Body).ReadToEndAsync();

            dynamic data = JsonConvert.DeserializeObject(requestBody);

            return new OkObjectResult(result);

        }

        public static string ExcelData(ExecutionContext context)

        {

            string filePath = System.IO.Path.Combine(context.FunctionAppDirectory, "Cynodemo.xlsx");

            var jsonString = string.Empty;

            try

            {

                IWorkbook workbook = null;


                FileStream fs = new FileStream(filePath, FileMode.Open, FileAccess.Read);

                if (filePath.IndexOf(".xlsx") > 0)

                {

                    workbook = new XSSFWorkbook(fs);

                }

                else if (filePath.IndexOf(".xls") > 0)

                {

                    workbook = new HSSFWorkbook(fs);

                }

                dynamic obj = new JObject();

                dynamic data = new JObject();

                JArray rows = new JArray();


                ISheet sheet = workbook.GetSheetAt(0);

                if (sheet != null)

                {

                    int rowCount = sheet.LastRowNum;


                    for (int i = 0; i < rowCount; i++) //rowCount

                    {

                        IRow curROw = sheet.GetRow(i);

                        dynamic Rows = new JObject();

                        if (curROw != null)

                        {

                            string value1 = string.Empty;

                            if (curROw.GetCell(0) != null)

                            {

                                value1 = curROw.GetCell(0).StringCellValue.Trim();

                                Console.WriteLine(value1);

                                Rows.col = value1;

                            }

                            string value2 = string.Empty;

                            if (curROw.GetCell(1) != null)

                            {

                                value2 = Convert.ToString(curROw.GetCell(1));

                                Console.WriteLine(value2);

                                Rows.col2 = value2;

                            }

                            string value3 = string.Empty;

                            if (curROw.GetCell(2) != null)

                            {

                                value3 = Convert.ToString(curROw.GetCell(2));

                                Rows.col3 = value3;

                                Console.WriteLine(value3);

                            }

                            string value4 = string.Empty;

                            if (curROw.GetCell(3) != null)

                            {

                                value4 = Convert.ToString(curROw.GetCell(3));

                                Rows.col4 = value4;

                                Console.WriteLine(value4);

                            }

                            Console.WriteLine(Rows);

                            rows.Add(Rows);

                            Console.WriteLine(rows);

                        }

                    }

                    data.sheet = rows;

                    obj.data = data;

                    jsonString = Newtonsoft.Json.JsonConvert.SerializeObject(obj);

                    Console.WriteLine(jsonString);

                }
            }

            catch (Exception exception)

            {

                Console.WriteLine(exception.Message);

            }


            return jsonString;

        }
    }
}
Step 8: Need to edit the Excel file to .csproj file as shown below, and the code is:
<None Update=”Cynodemo.xlsx”>
<CopyToOutputDirectory>PreserveNewest</CopyToOutputDirectory>
</None>
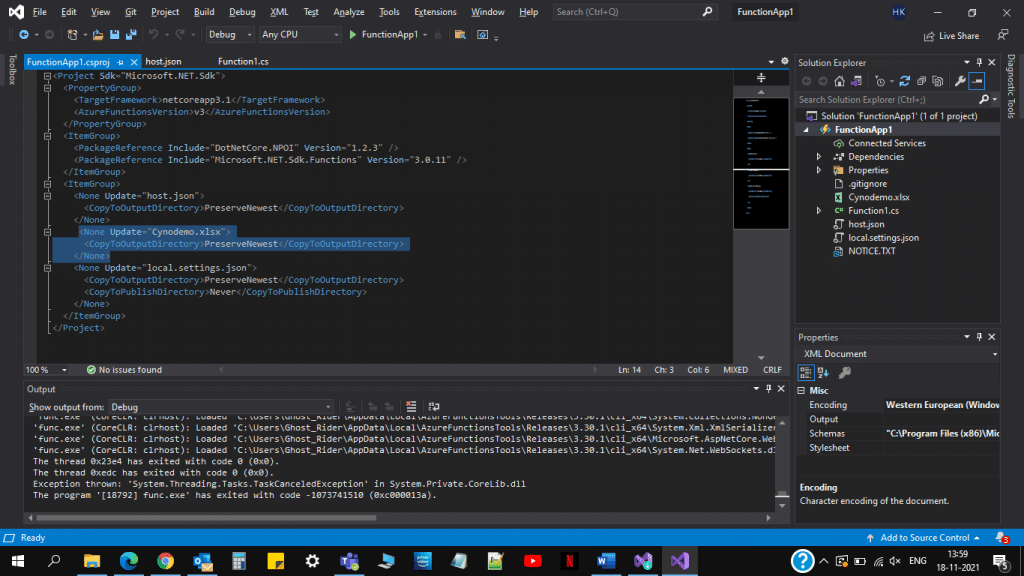
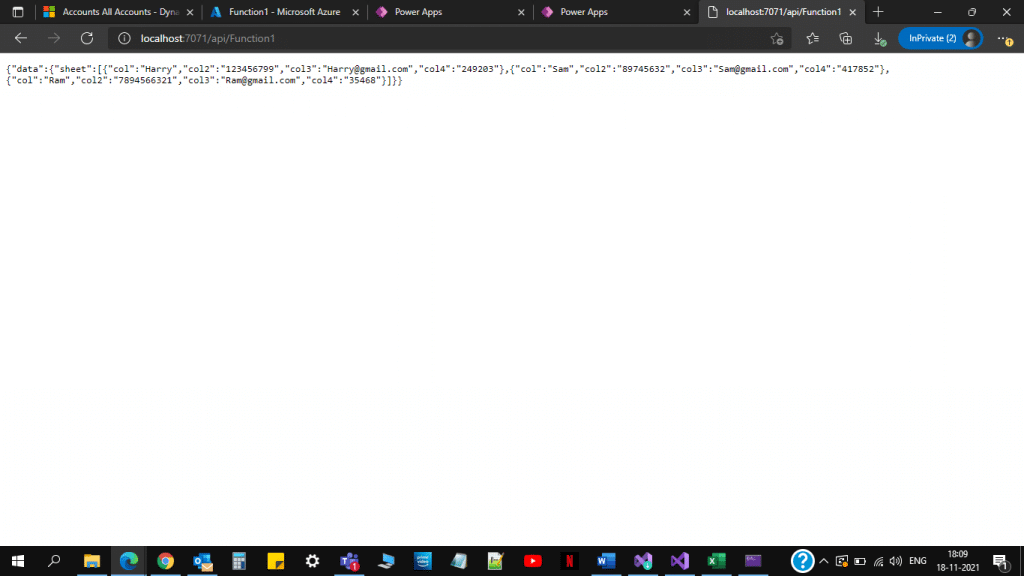
Step 9: Click on the Run button. This will open a Console widow which gives you a local URL that you can check when coping the URL and then hit that URL in your local browser, this will give you the Excel data in the Json format which you will use further.
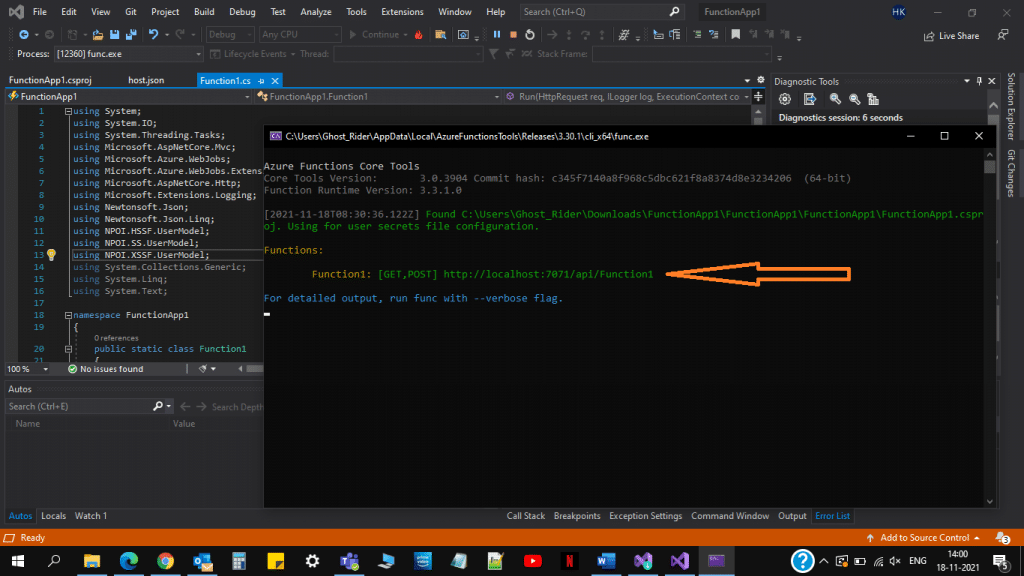
The data you will get looks like this:
Also, read: Azure DevOps Salesforce integration – goals and best practices
Publish all code to Azure portal
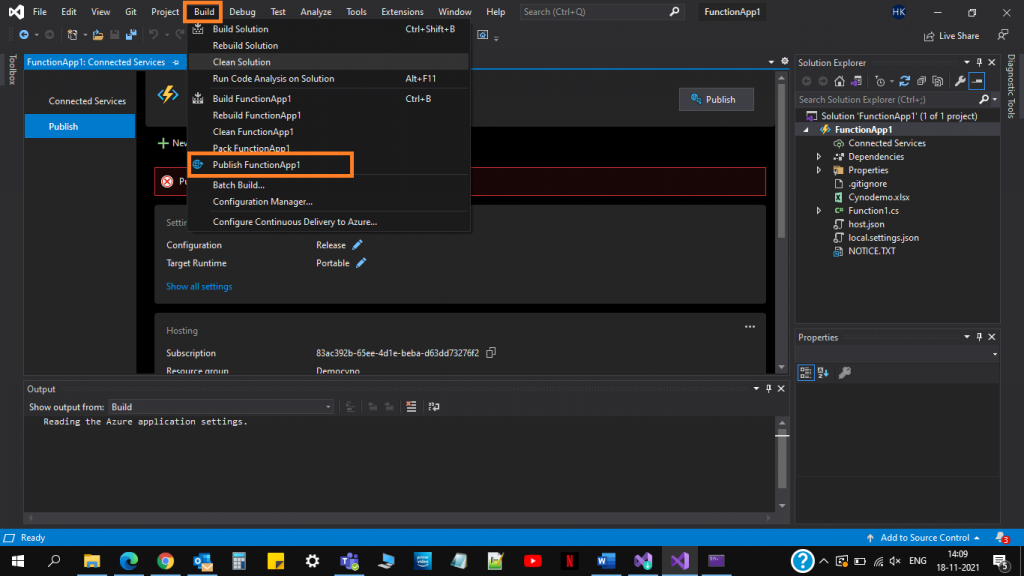
Step 1: Click on Build and then on Publish as shown below:
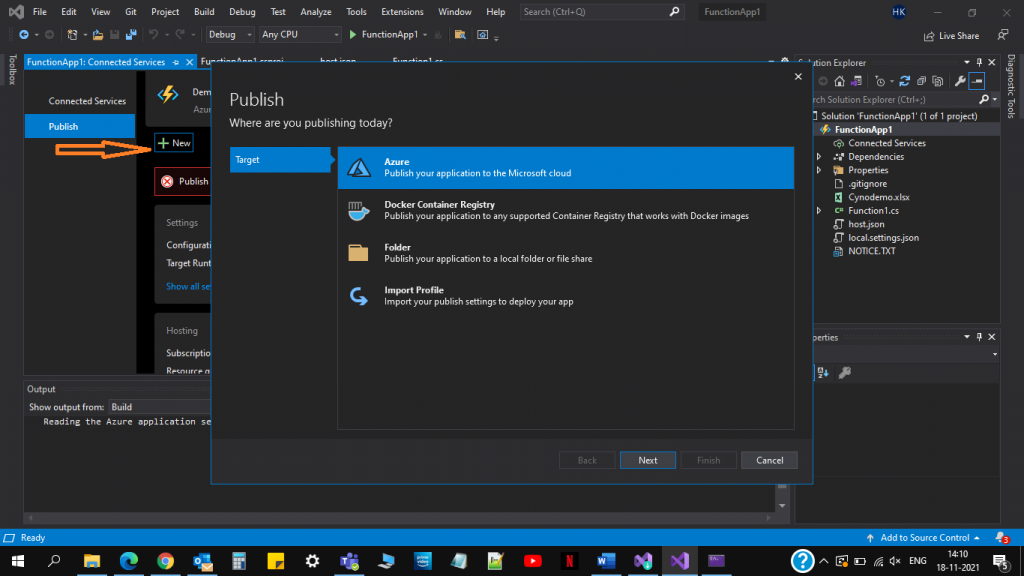
Step 2: Click on new and select Azure as a target and click on next, then select Azure function App (Windows) and enter login credentials used to login in Azure portal.
Step 3: Select the Function app which you made above and click on finish.

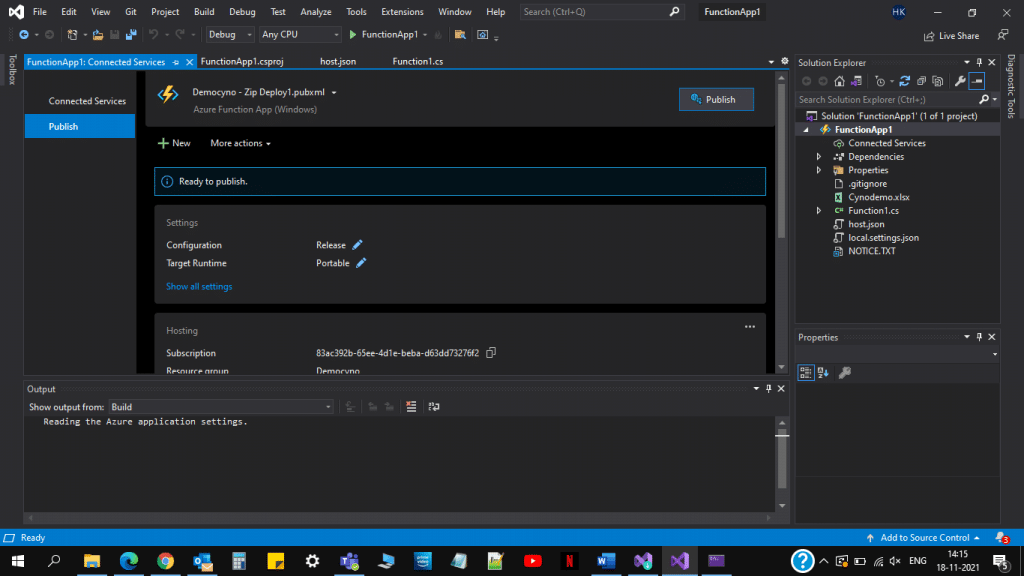
Step 4: Check the function app name, it must be correct and click on publish.
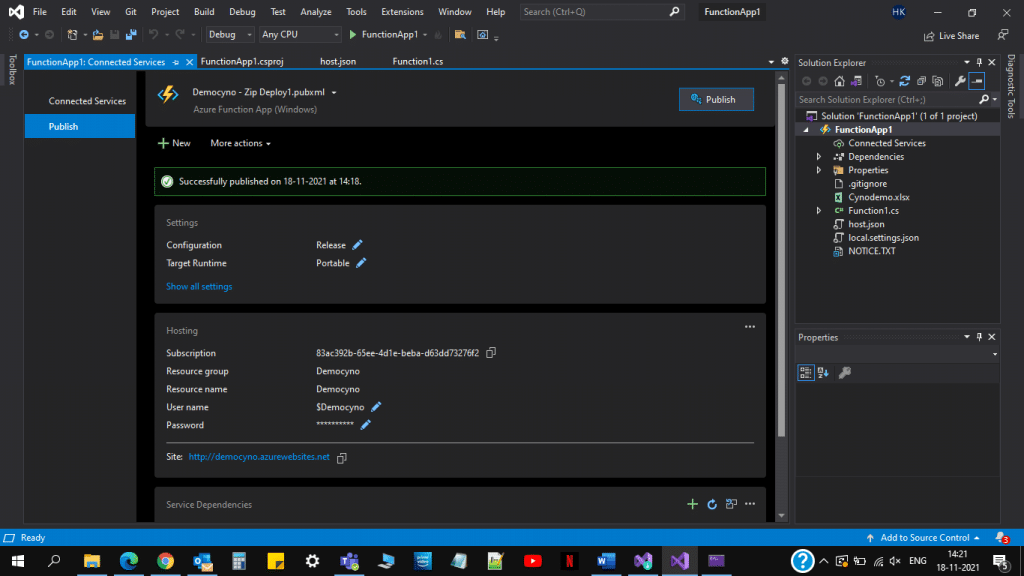
Step 5: Wait for the Successful published message, like given below. Then minimize this visual studio window.
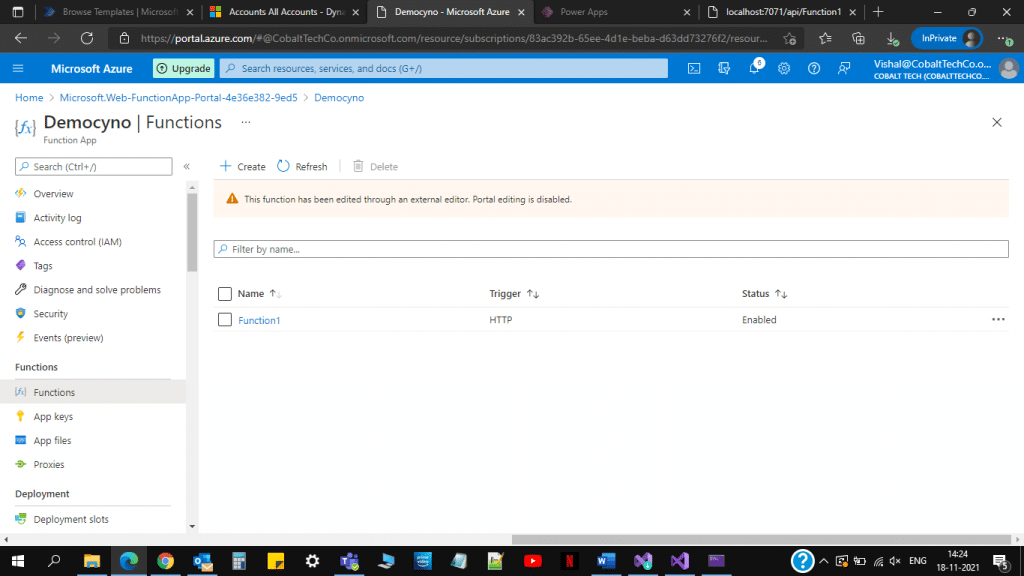
Step 6: After that come back to the Azure portal screen and give a hard refresh or click on the refresh button given below. After Successfully publishing the Azure function, you will get a function added to your Function app as shown below:
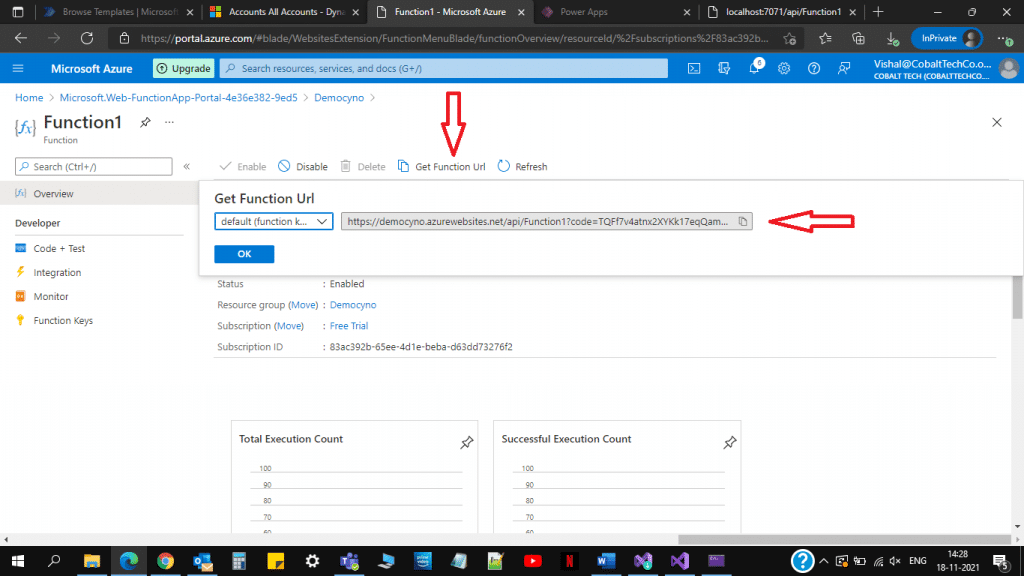
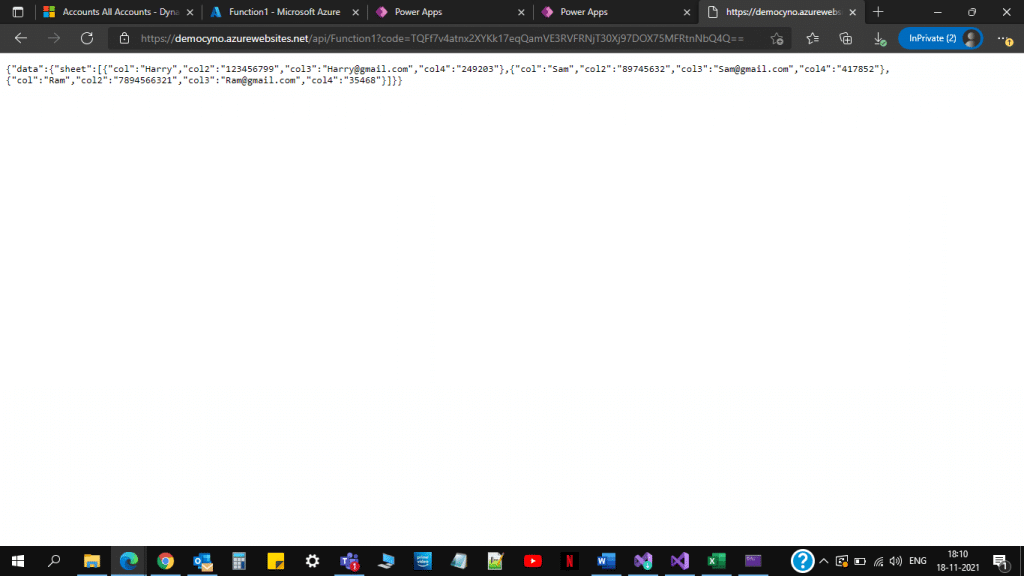
Step 7: Just to check whether the function is working fine. Open the function and click on Get function URL and after copying that URL hit that in your browser. Now you will get the Excel data in the Azure portal.
Step 8: You will get the data like this.
Step 9: Save and copy the same function URL, you can use this URL to get the same data in your power automate flow to create a record with the excel data.
Also, read: Azure DevOps Pipeline and Configuring CI and CD Pipelines
Create MS flow in Power automate
Step 1: Login into power automate. Navigate to the Power Apps page and click on Flows.
Step 2: Click on the new Automated Flow.
Step 3: Search for a manual Trigger Flow for a demo purpose.
Step 4: Add a new step and search for HTTP requests.
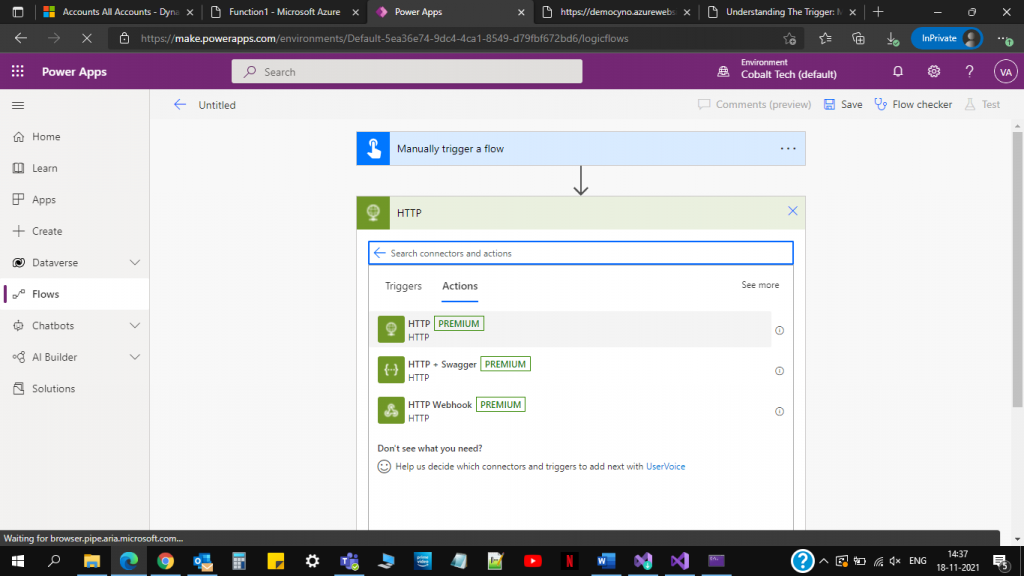
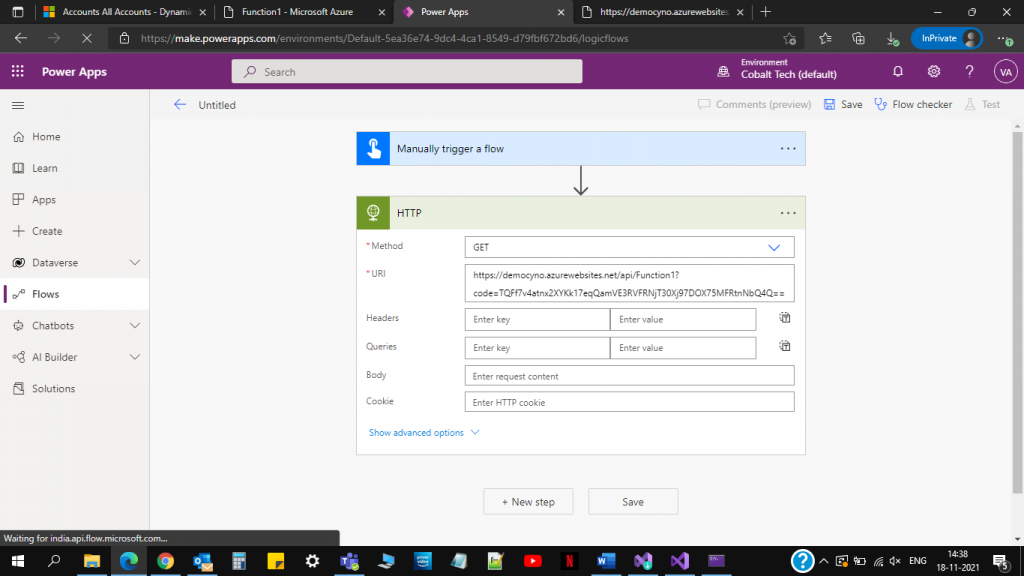
Step 5: Select for HTTP premium the first one given above. And paste the URL which you got from the Azure function app and select any method that you want to get or post.
Step 6: Click on the new step and Search for parse JSON. Select body which for Content and the content which you were getting from the URL provided for your reference.
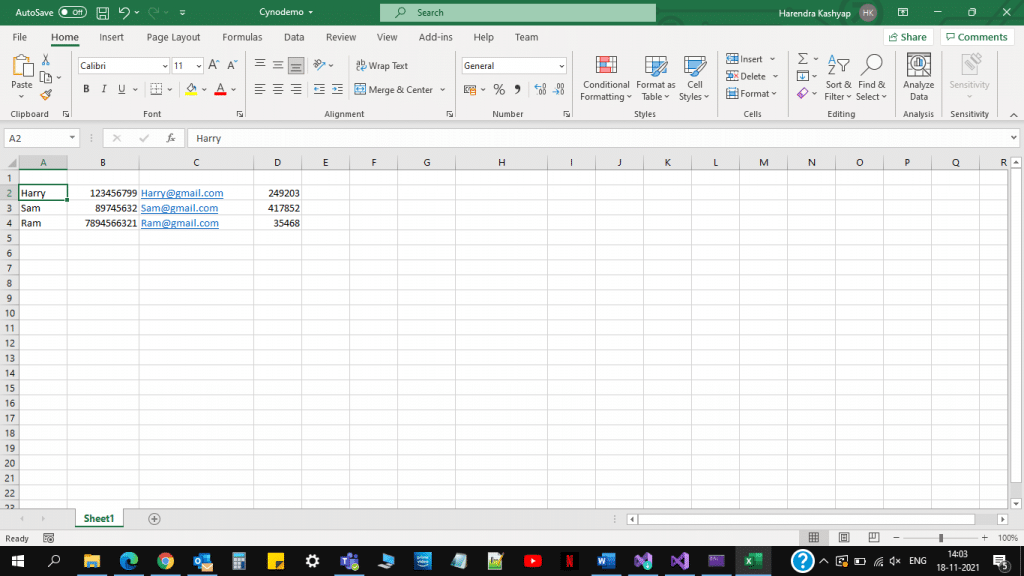
“{"data":{"sheet":[{"col":"Harry","col2":"123456799","col3":"[email protected]","col4":"249203"},{"col":"Sam","col2":"89745632","col3":"[email protected]","col4":"417852"},{"col":"Ram","col2":"7894566321","col3":"[email protected]","col4":"35468"}]}} Paste it on the Schema Filed as shown below:

Step 7: Convert the JSON data into an array so you can get data in proper form as shown below.
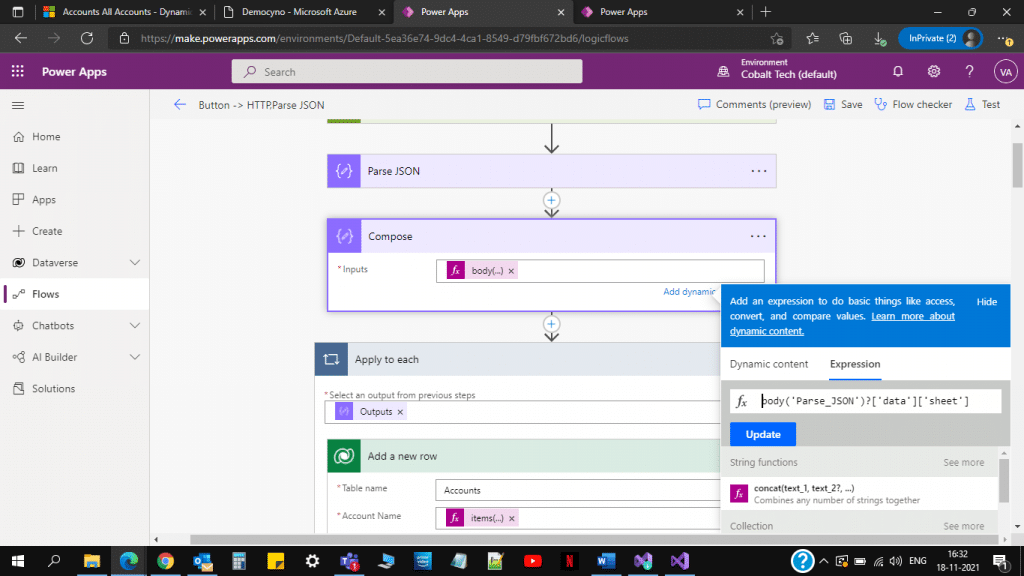
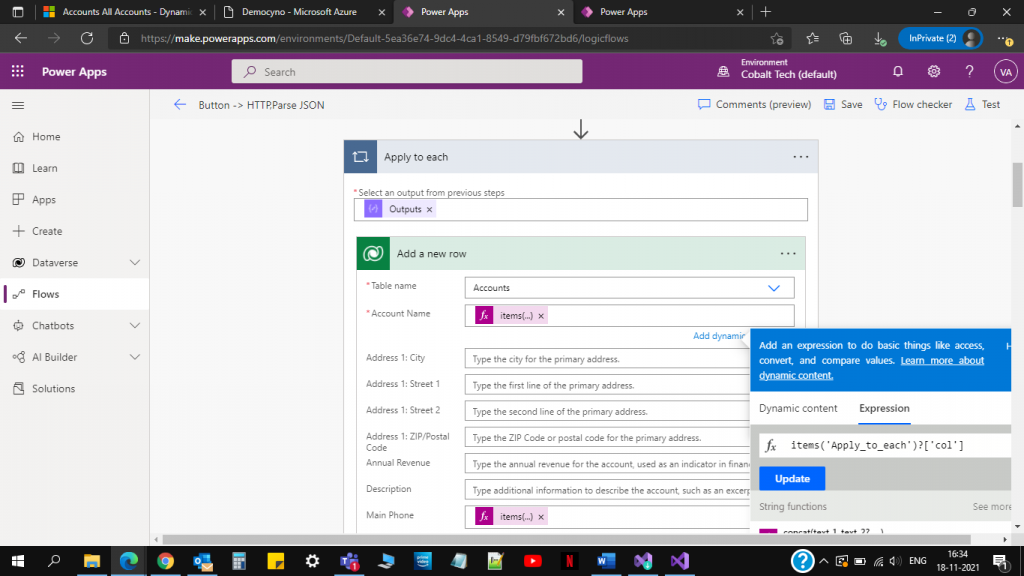
Step 8: Create a record using add a row method of Power Automate and insert the value into the fields accordingly as shown below inside a loop, because you have three different rows in your excel sheet, so 3 different records will be created in the dynamics.
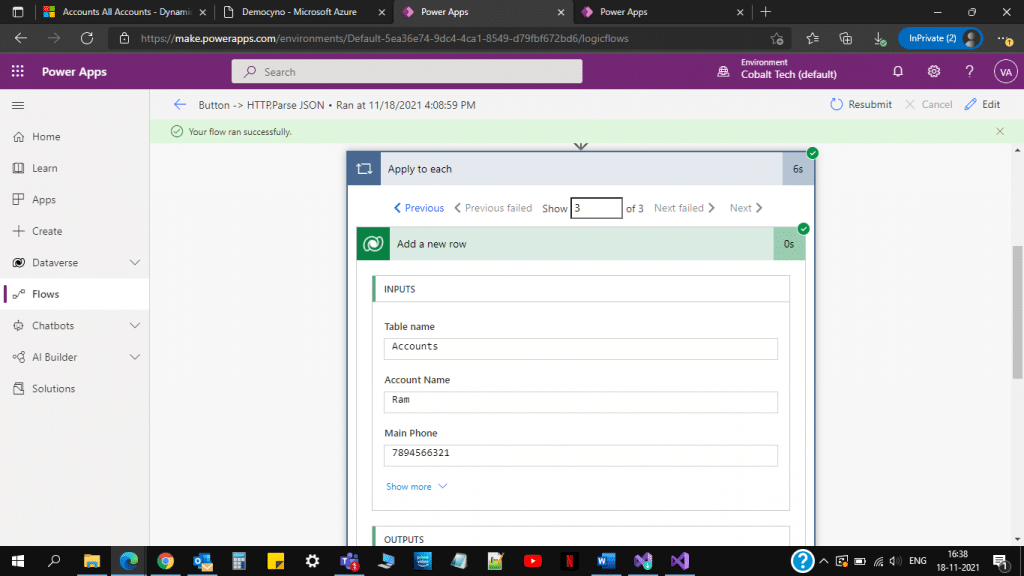
Step 9: Save the flow, trigger it manually. You will get the required data like this after a successful run of the flow.
Step 10: The following records will be created in the dynamics:

Also, read: Microsoft PowerApps Connectors
Conclusion
Integration of Azure function with Power Automate and Visual Studio offers more developer productivity than Azure App Service alone does and can solve several problems while automating business processes. It can determine input, activities, conditions, and output. You can manage each of them on a trigger or schedule. This integration has unique advantages, and above we have explained all the required steps to easily manage and get the desired results. It also offers even more options for development environments.
Microsoft Power Platform Consulting
Still, have a question? You are free to contact me or other experts in our team to showcase the real power of PowerApps to you.