Over the year one of the best open-source platforms like WordPress has gained massive popularity in terms of its simple and flexible CMS which has become a lot easier for its user. Gone are the days when you required a coding master to build your business website.
Thankfully now we live in a highly technological age, where there are dozens of frameworks that provide us with great content management system platforms.
The main one is of course being WordPress.
We as a software development company receive many requests where the clients want to switch from HTML to WordPress for having better CMS control.
So, in this blog, we are going to let you know how you can convert your static HTML site to WordPress, you must be having some basic knowledge of HTML, CSS, and PHP.
There are three ways to do this conversion, but in this blog, we are going to show you the manual way of doing it so you can have an idea of what changes you have done and how they are being reflected.
1. Manual Conversion of the HTML to WordPress
2. Converting HTML through a WordPress child Theme
3. Importing HTML content into WordPress using a Plugin
Manual Conversion of HTML to WordPress
Step 1: Create a New Theme folder and Basic Files
The first thing you have to do is create a theme folder on your desktop or in any directory of your computer. You can name it whatever you want your theme to be called.
After that, go to any of your code editors and create a few text files and name them as follows:
i) style.css
ii) index.php
iii) header.php
iv) sidebar.php
v) footer.php
Step 2: Copy Existing CSS into New Stylesheet
For the next step; you will have to copy the CSS coding from your existing HTML site onto a WordPress style sheet.
Now, before copying the HTML CSS, open style.css and paste the following:
/*Theme Name: Twenty TwentyTheme
URI: https://wordpress.org/themes/twentytwenty
Author: John DoeAuthor
URI: https://wordpress.org/
Description: Twenty Twenty
themeVersion: 1.0.0
License: GNU General Public License v2 or later
License URI: https://www.gnu.org/licenses/gpl-2.0.html
Tags: black, orange, brown, white, tan, yellow, light, one-column, two-columns, right-sidebar, flexible-width, custom-header, custom-menu, editor-style, featured-images, microformats, post-formats, rtl-language-support, sticky-post, translation-ready
Text Domain: twentytwenty*/
This is the style sheet header, you will have to copy the whole code line including the comment /*…..*/
Details description of these code line follow:
✔Theme Name: This can be anything you want
✔Theme URL: Site address or homepage information
✔Author: Can be your name
✔Author URL: Can be as it is as we have added above or you can add a link to your homepage or whatever make sense.
✔Description: Optional, can be as it is or you can add any description that you want. It will show up in the WordPress backend.
✔Version: It is basically your theme version. Since it not a publishing theme, you can start with 1.0 here.
✔License, License URI, and Tags: Only mandatory if you are going to submit the theme into the WordPress directory for others to use. If you are keeping it for yourself, then don’t worry about it. Keep as it is.
Once you are done by adding the above into your style.css file; copy and paste your existing HTML site CSS into this file. Save the file and close it.
Step 3: Separate Your Existing HTML
In WordPress to access database information PHP is used. As a result, your existing HTML code which resides in index.html has to be separated into parts, so that the WordPress CMS can properly combine them.
To achieve this, you will have to copy parts of the original HTML document into different files you have created at the first step.
First, open your index.html file after that go through your newly created WordPress file:
header.php:
From beginning of your HTML file to the main content area i.e <main> or <div class=”main”> goes into the header.php file. So, copy and paste the code after that right before it show </head> copy and paste following
<?php wp_head();?>
Sidebar.php
Again check your index.html file; find and search <aside> or <aside class=”sidebar”> and notice the closing tag </aside>. Now, everything that is inside this section, copy and paste inside sidebar.php file; save and close.
Footer.php
Now, all that is left from the end of the sidebar (i.e </aside>) till the end of the index.html file should be footer information. That will be added to this file. After that just before the closing bracket </body> tag copy and paste following
<?php wp_footer();?> save the file
Once you are done with the index.html file, save and close it too
Also, Read: Must use Magento 2 extension for additional functionality
Step 4: Finalize your header.php and index.php files for WordPress
Now the final steps you have to take for header.php and index.php is the following format’s:
Look for the link in your <head> section that look like this:
<link rel=”stylesheet” href=”style.css”>Replace the link with the link below:
<link rel=”stylesheet” href=”<?php
echo get_template_directory_uri(); ?>/style.css” type=”text/css” media=”all” />
Now save and close the header.php file.
In you index.php file; enter the following, precisely like this:
<?phpget_header(); ?>
<?php get_sidebar(); ?>
<?php get_footer(); ?>
Make sure the space between the above two lines of code is as it is, one after the another. This is because you will paste below loop code (https://codex.wordpress.org/The_Loop)
The loop starts here:
<?php if( have_posts() ) : ?>
    <?php while( have_posts() ) : the_post(); ?>
        <div id="post-<?php the_ID(); ?>"<?php post_class(); ?>>
            <div class="post-header">
                <div class="date">
                    <?php the_time( 'M j y'); ?>
                </div>
                <h2><a href="<?php the_permalink(); ?>"rel="bookmark"title="Permanent Link to <?php the_title_attribute(); ?>">
                <?php the_title(); ?></a></h2>
                <div class="author"><?php the_author(); ?>
                </div>
            </div><!--endpost header-->
            <div class="entry clear">
                <?php if( function_exists( 'add_theme_support') ) the_post_thumbnail(); ?>
                <?php the_content(); ?>
                <?php edit_post_link(); ?>
                <?php wp_link_pages(); ?>
            </div><!--endentry-->
            <div class="post-footer">
                <div class="comments">
                <?php comments_popup_link( 'Leave a Comment', '1 Comment', '% Comments'); ?>
                </div>
            </div><!--endpost footer-->
        </div><!--endpost-->
    <?php endwhile; /* rewind or continue if all posts have been fetched */?>
    <div class="navigation index">
        <div class="alignleft">
            <?php next_posts_link( 'Older Entries'); ?>
        </div>
        <div class="alignright">
            <?php previous_posts_link( 'Newer Entries'); ?>
        </div>
    </div><!--endnavigation-->
    <?php else: ?>
<?php endif; ?>
After that, save and close the file. The basic theme is ready.
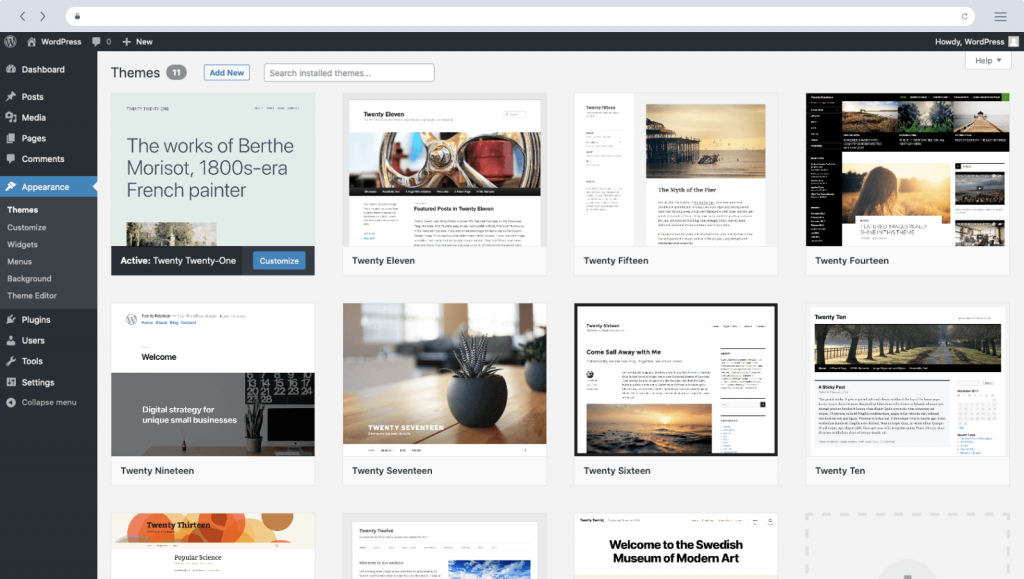
Step 5: Upload Your New Theme
To upload your theme, take the following steps:
1. Create a zip file of your folder
2. Go to WordPress
3. Select Appearance->Theme->click Add New at the top
4. Click Upload theme.
5. Upload your zip file and click Install Now.
Once that’s done, you can easily activate your theme.
These are the basic steps that one has to perform if you are shifting your HTML site to a WordPress theme manually. Although a lot of work still needs to be done to completely migrate content from HTML to WordPress in terms of the pages.
If you have followed our blog as a guide for migration from HTML to WordPress, then welcome onboard you have joined one of the largest CMS open source communities in the world.
Web Development Services
Are you looking for a reliable web development company? Our highly skilled web developers enables us to deliver result oriented web development services. Contact our team to understand, how we can help you in achieving your business goals.